
Foundation Planting Guide - How to Prepare, Design, and Plant the Beds Around Your House
April 28, 2026
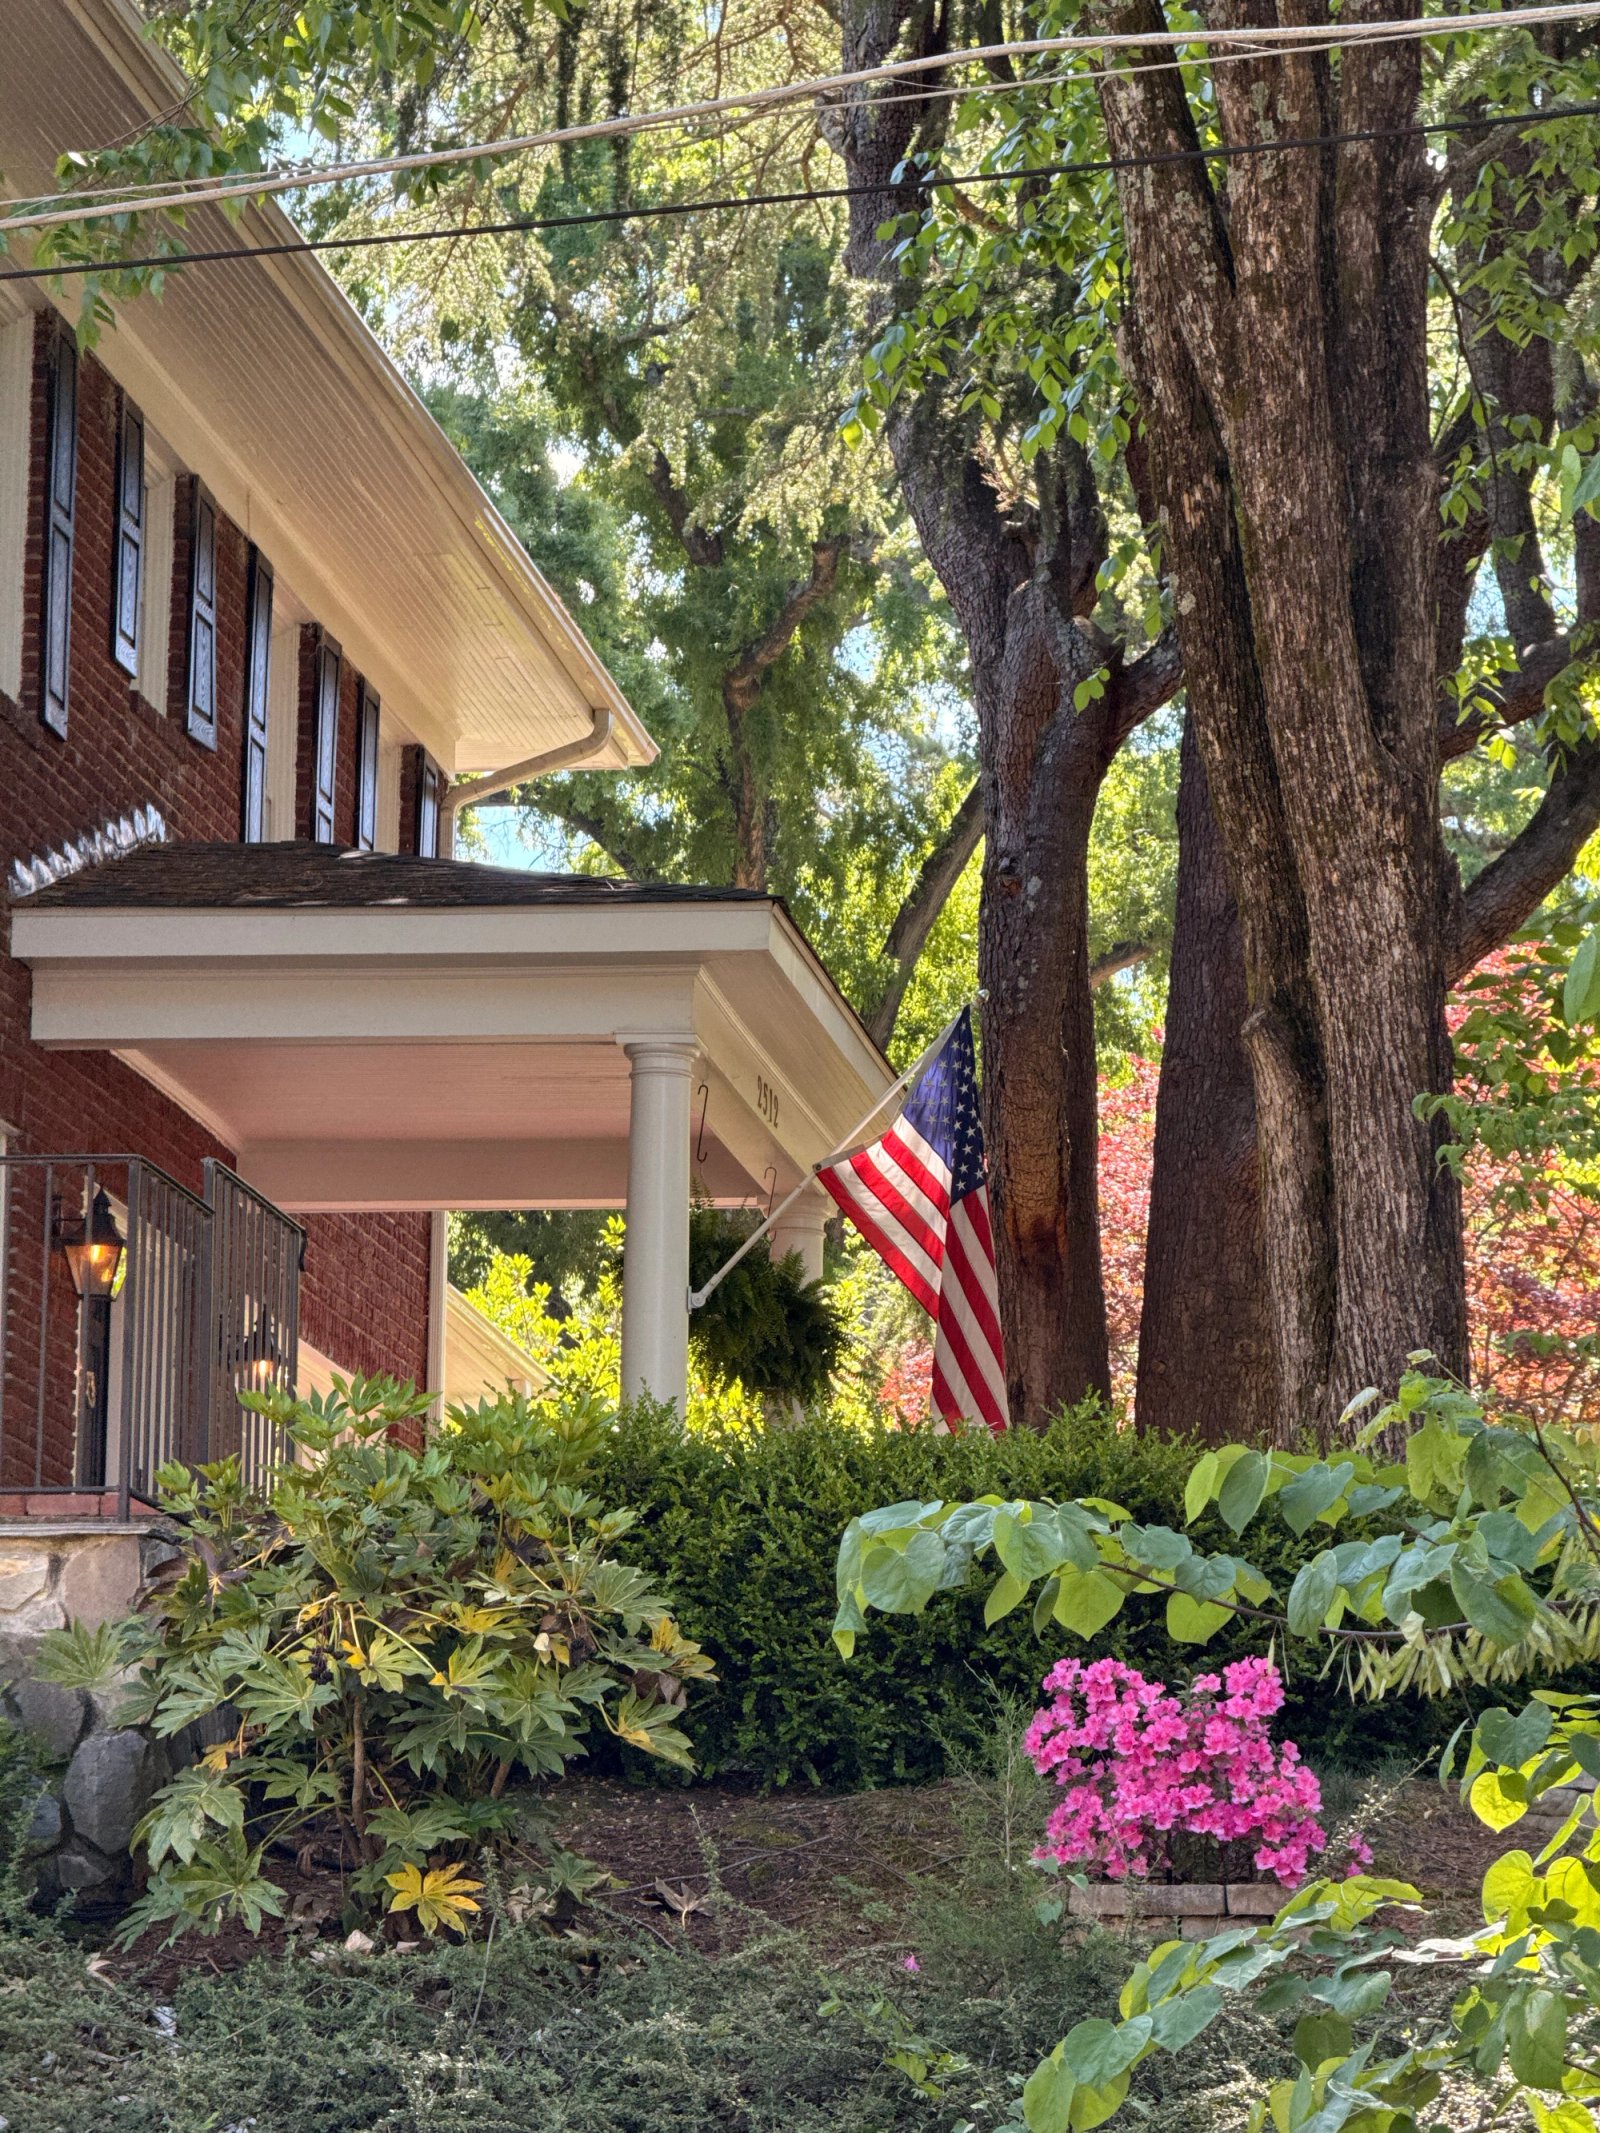
Everyone notices the foundation area around a house. It's the first thing you see when you walk up to a front door, and it's the view from every window that faces the yard. But for most homeowners, it's also the most neglected part of the landscape - a strip of bare mulch, a row of overgrown bushes from the previous owner, or just weeds growing against the siding.
The impulse is to go straight to the nursery, buy some plants, and stick them in the ground. But if you start with plants, you'll probably end up redoing the work within a year or two. Foundation beds have specific challenges that other garden beds don't - drainage, moisture against the house, soil quality, and spacing constraints.
Here's how to do it right, starting with the ground work that most guides skip entirely.
Step 1: Assess what you're working with
Before you buy a single plant, walk the perimeter of your house and observe.
Check your drainage. Water should always flow away from your foundation, not toward it. The ground should slope gently away from the house - about 6 inches of drop over the first 10 feet is the standard recommendation. If you see water pooling against the house after rain, or if the soil stays soggy near the foundation, you have a grading problem that needs to be fixed before any planting.
Look at your gutters and downspouts. Are they directing water away from the foundation, or dumping it right into what will become your planting bed? Downspout extensions or splash blocks that move water at least 4-6 feet from the house are essential. No garden bed will thrive if it's getting flooded by roof runoff.
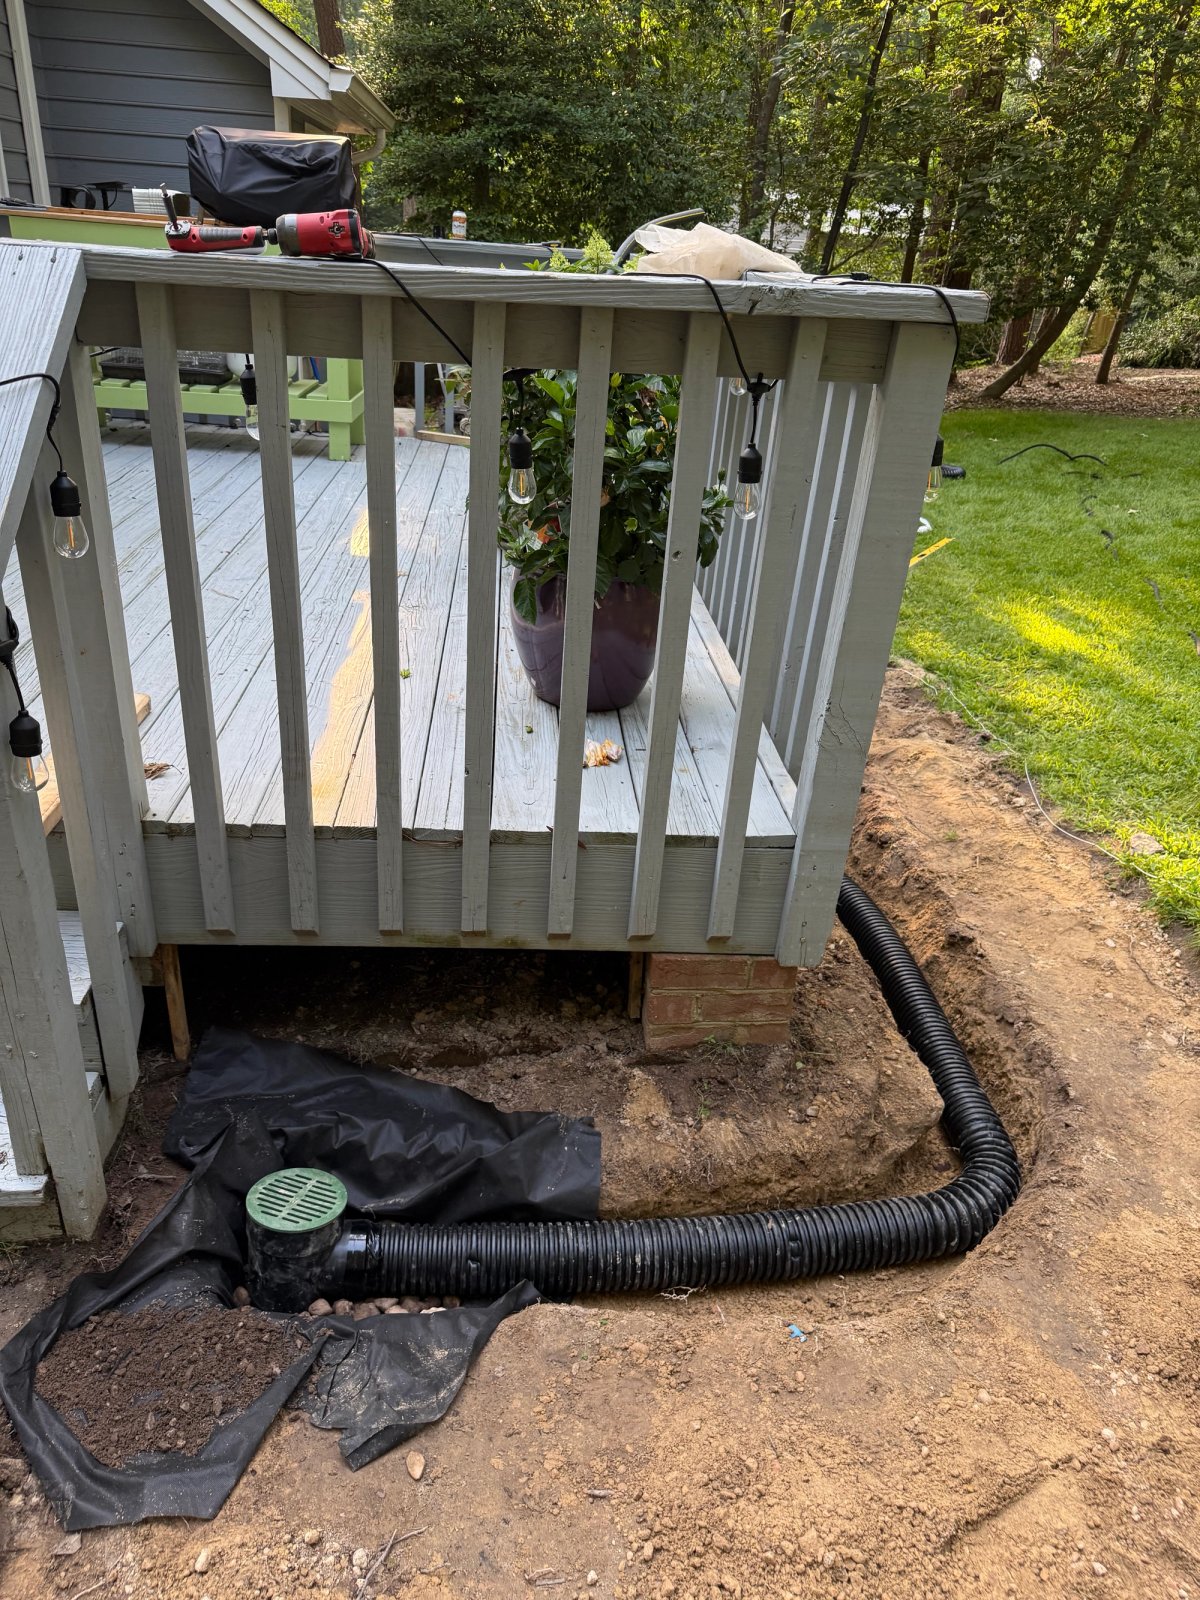
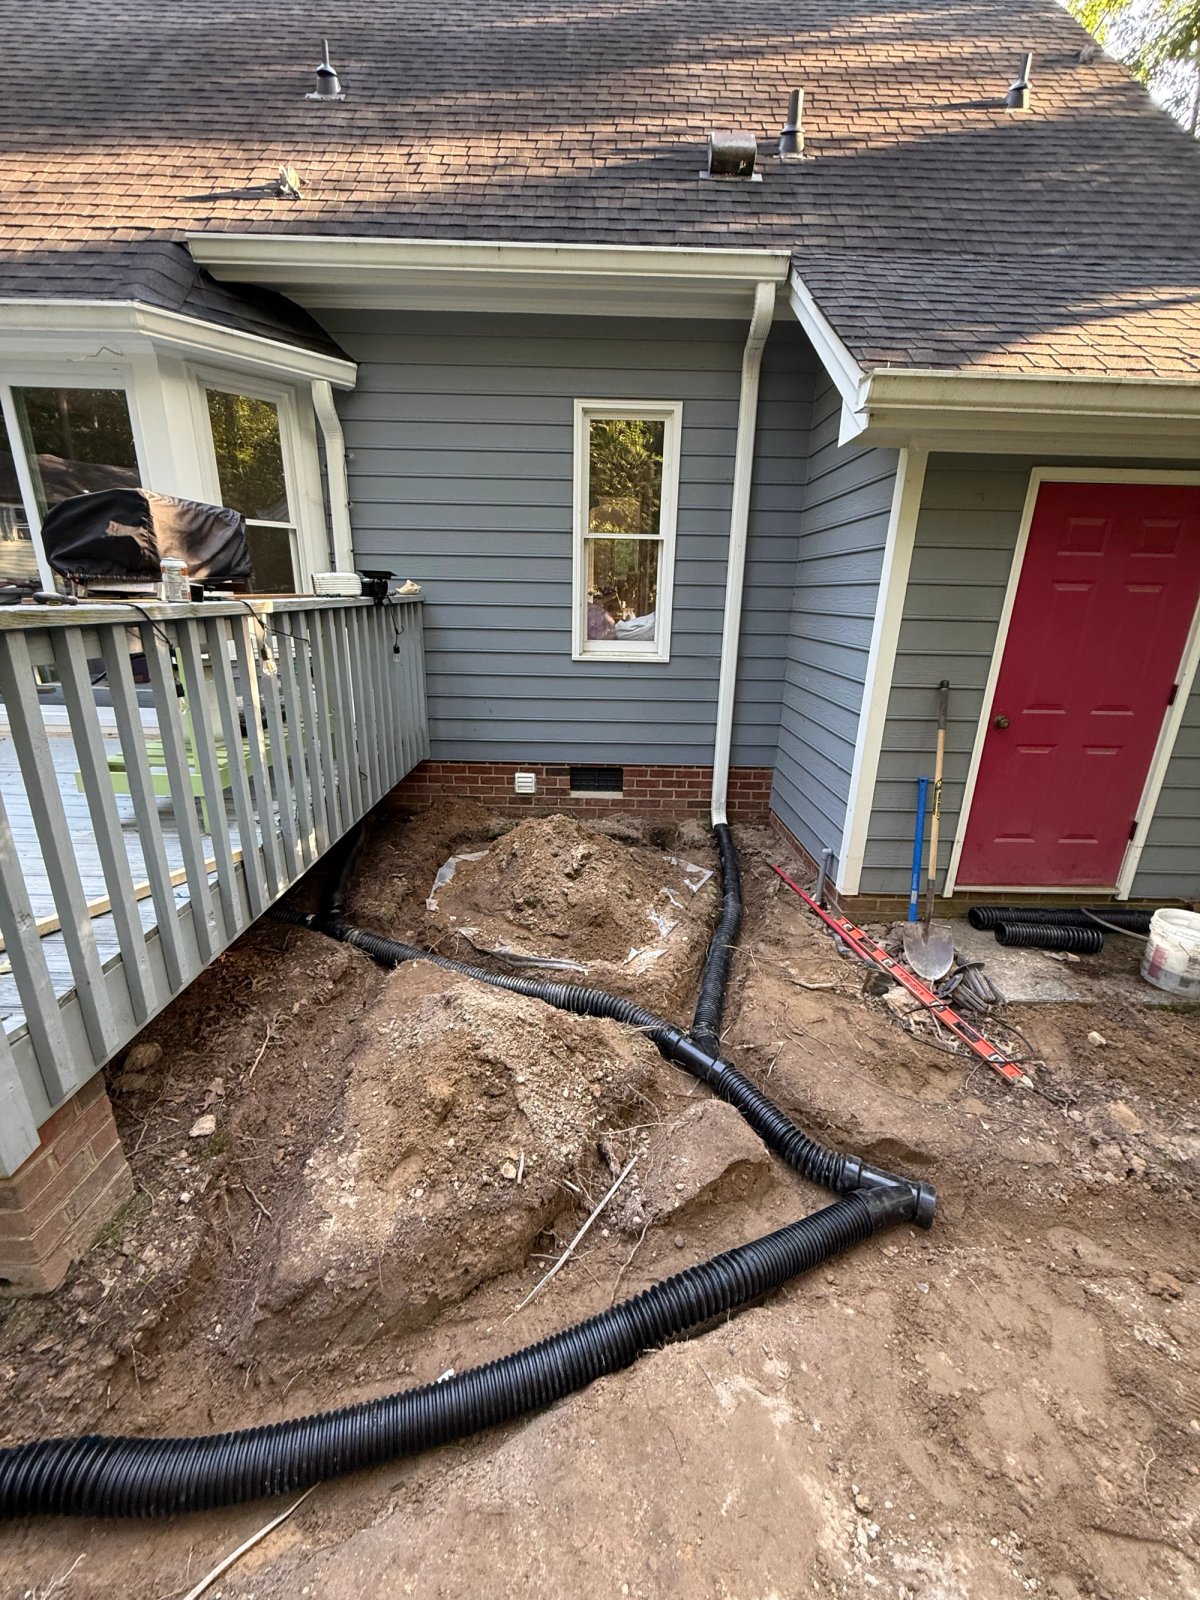
One of the biggest problems in our yard was water draining back toward the house after heavy rain.
We solved it by collecting roof runoff into a catch basin and sending it away from the foundation through a long drainage pipe.
Check the existing soil. Foundation soil is almost always terrible. When your house was built, the contractor backfilled around the foundation with whatever was available - usually subsoil, construction debris, and compacted clay. This is not the rich garden soil your plants need. Push a screwdriver into the ground near your foundation. If it's hard to penetrate, the soil is compacted and will need serious amendment.
Note your sun exposure. Walk the foundation at different times of day. The south and west sides typically get the most sun. The north side is often in deep shade. East-facing beds get gentle morning sun. Each side may need completely different plants. Don't pick plants first and then discover they're in the wrong light conditions.
Check for existing problems. Look for cracks in the foundation, signs of moisture damage, mold on siding, or evidence of pest activity (termites, carpenter ants). If you see any of these, address them before you start landscaping. Planting over a problem doesn't fix it - it hides it until it gets worse.
Step 2: Prepare the ground - this is where most people skip ahead
This is the work nobody wants to do, but it makes everything that follows dramatically easier and more successful.
Clear everything. Remove existing grass, weeds, and old plants within the bed area. If there are overgrown shrubs from the previous owner that you don't want to keep, now is the time to take them out. Use a flat spade to cut the sod, roll it up, and remove it. Don't just cover grass with mulch - it will grow back through.
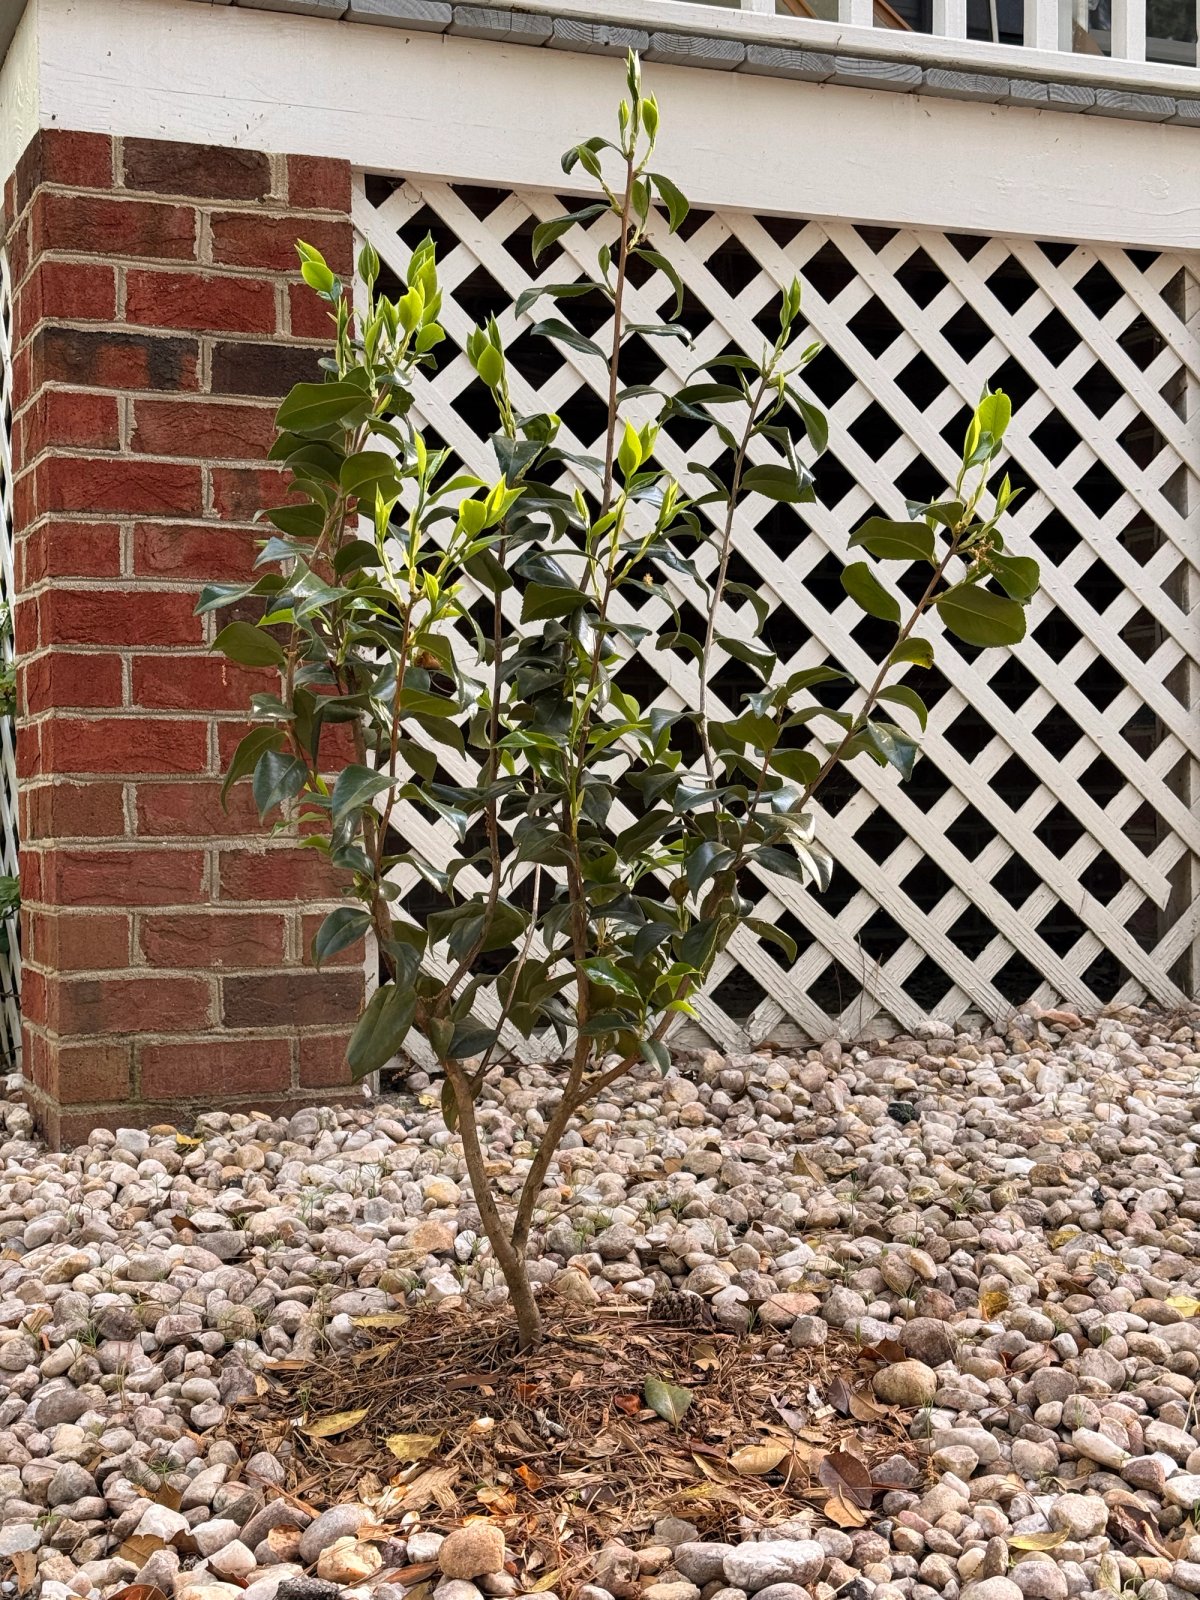
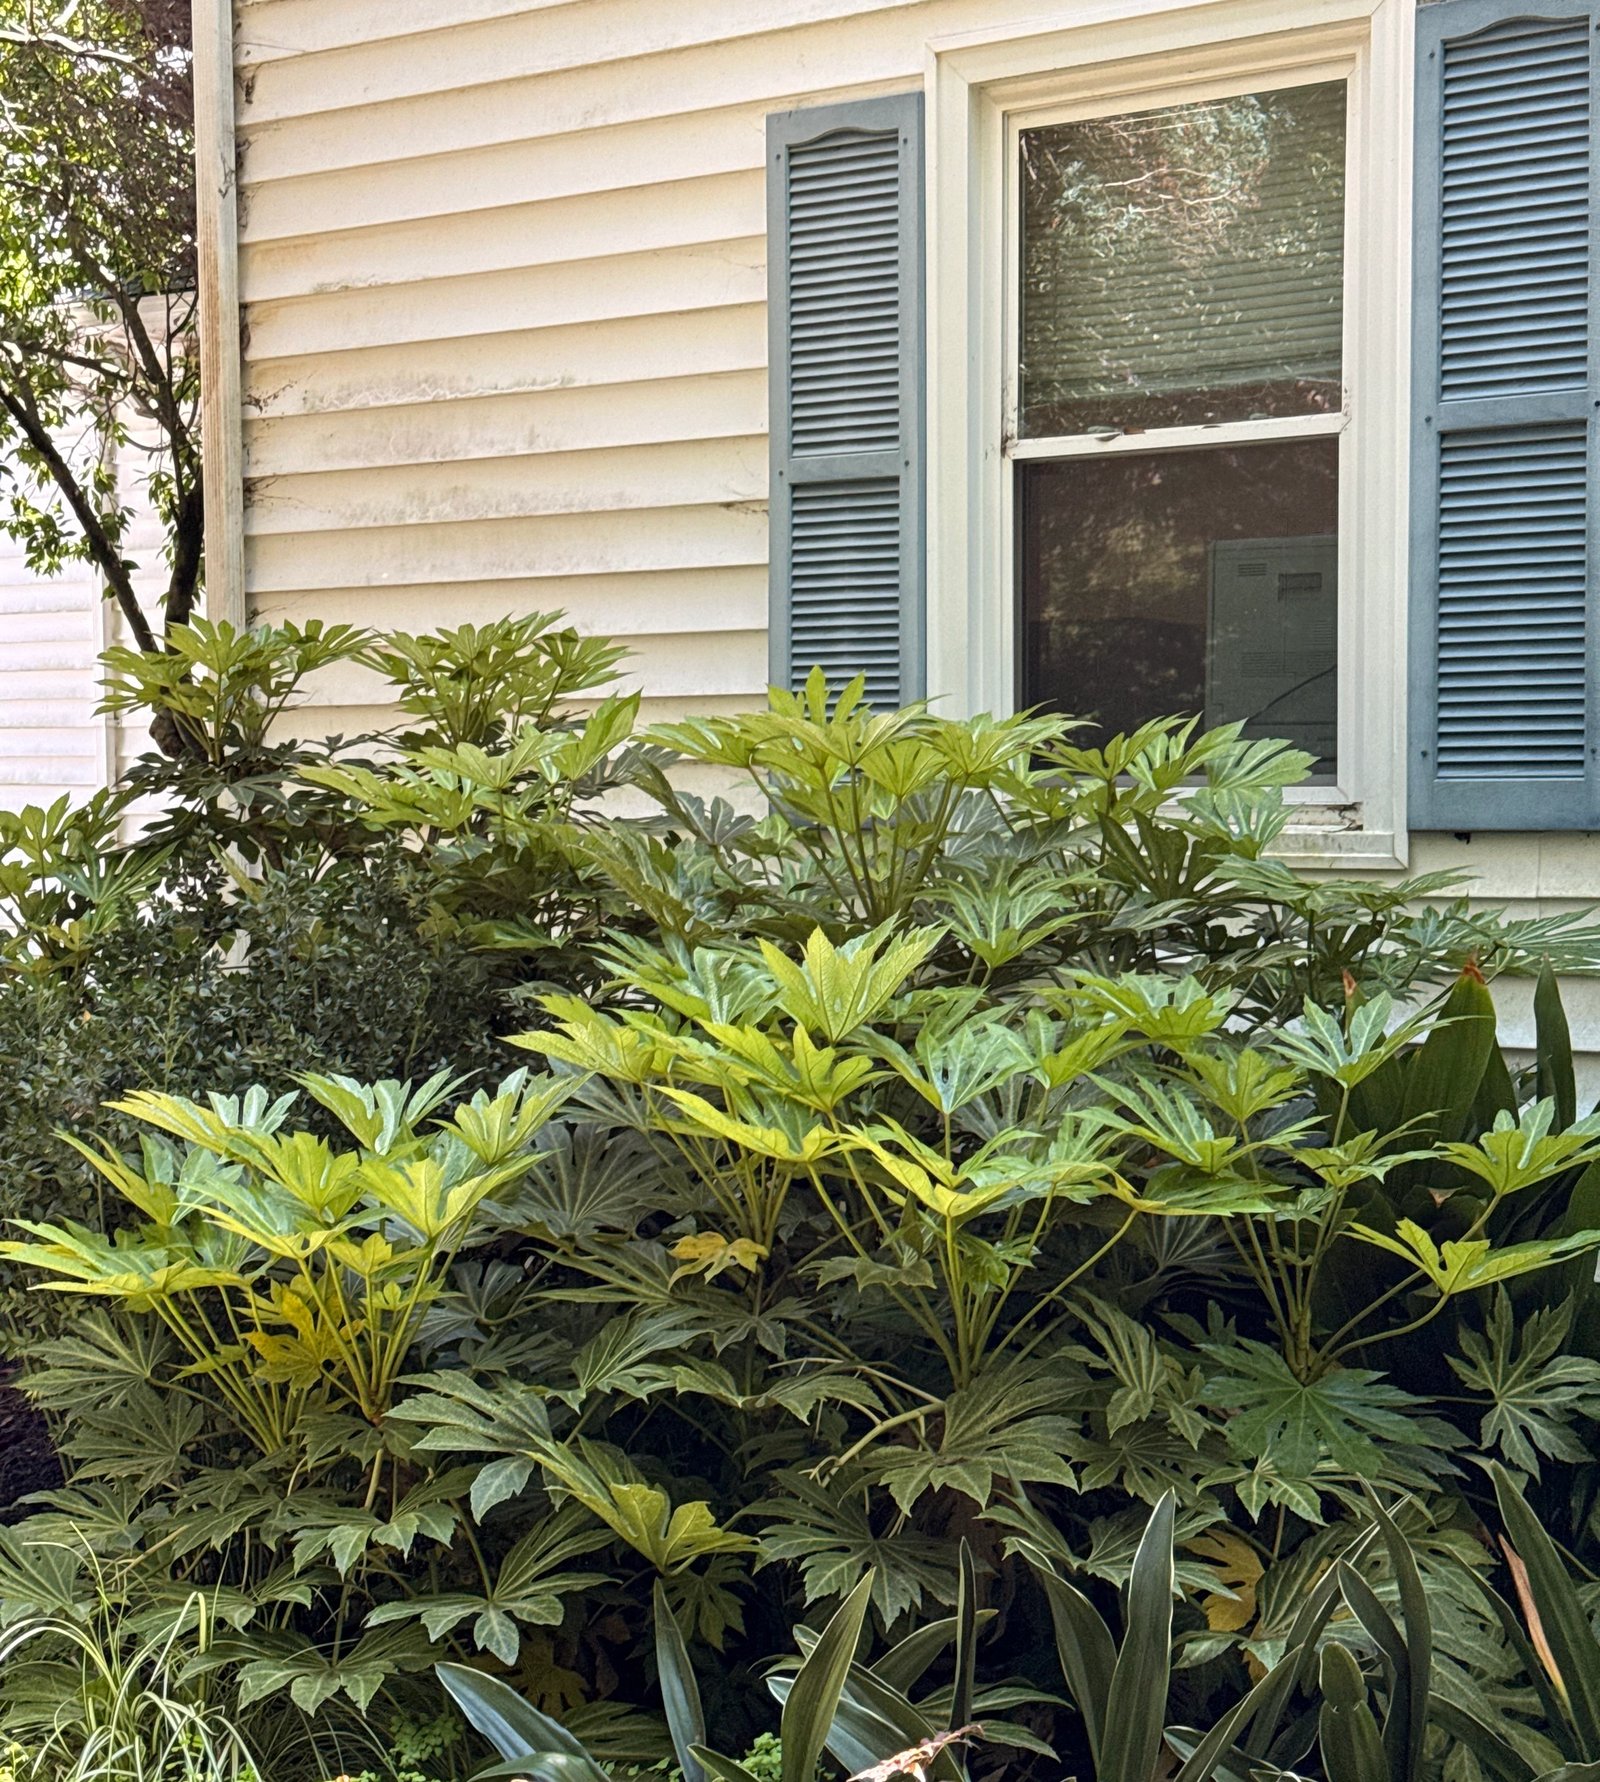
Keep clearance from the foundation. This is critical and often ignored. Leave at least 6–12 inches of exposed foundation between the soil/mulch level and your siding. Never pile soil or mulch up against the house - this traps moisture, promotes rot and mold, and gives insects direct access to wood framing. You should always be able to see a strip of concrete or block between the ground and the start of your siding.
Fix the grade if needed. If water flows toward the house, add soil to build up the grade so it slopes away. This might mean bringing in topsoil and reshaping the bed. It's less glamorous than choosing plants, but it's the single most important thing you can do to protect both your foundation and your garden.
Amend the soil. Once the grade is correct, it's time to improve what your plants will grow in. Spread 3–4 inches of quality compost over the entire bed area. If the soil is heavily compacted clay (common in the NC Piedmont), you can also work in coarse pine bark fines to improve drainage and structure. Apply woodchips on top for future soil improvement. Turn the compost into the top 8–10 inches of soil with a garden fork. Don't rototill right next to the foundation - hand-turning is safer and avoids disturbing the compacted soil that supports the foundation itself.
Plan your paths and access. You'll need to get behind the plants to maintain the house - clean gutters, paint, inspect siding, access HVAC units or meters. Leave at least 2–3 feet of accessible space between the back of your planting and the house wall. Many people plant right against the house and then can't reach anything when they need to. Plan for a narrow maintenance path (stepping stones, gravel, or just bare ground) behind the planting if your bed is deep enough.
Lay down mulch - the right way. After planting (or before, if you're building a bed for future planting), apply 2–3 inches of natural hardwood mulch or arborist wood chips. Do not use dyed mulch (red, black) - it looks artificial and some dyes can leach into soil. Do not pile mulch against plant stems or tree trunks. Do not let mulch touch the house siding. Keep a visible gap between mulch edge and foundation.
If you're not ready to plant yet but want to prep the bed for fall or next spring, you can sheet-mulch: lay cardboard over the cleared grass, add compost on top, and then a thick layer of wood chips (4–6 inches). Over several months, the grass dies, the cardboard decomposes, and you're left with rich, workable soil.
Step 3: Design the planting
Now - and only now - think about plants. Foundation planting design follows a few principles that are different from a regular garden bed.
Plan for mature size. The #1 foundation planting mistake is choosing plants that look perfect at the nursery and then grow too big within 3–5 years. That cute little shrub in a 3-gallon pot might be 8 feet wide in five years. Always check the mature width and height before buying. A good rule: take half the plant's final width and add a foot - that's how far from the house to plant it.
Don't block windows. Plants under windows should stay below the window sill at maturity. Choose compact or naturally low varieties for these spots. Plants at the corners of the house or between windows can be taller.
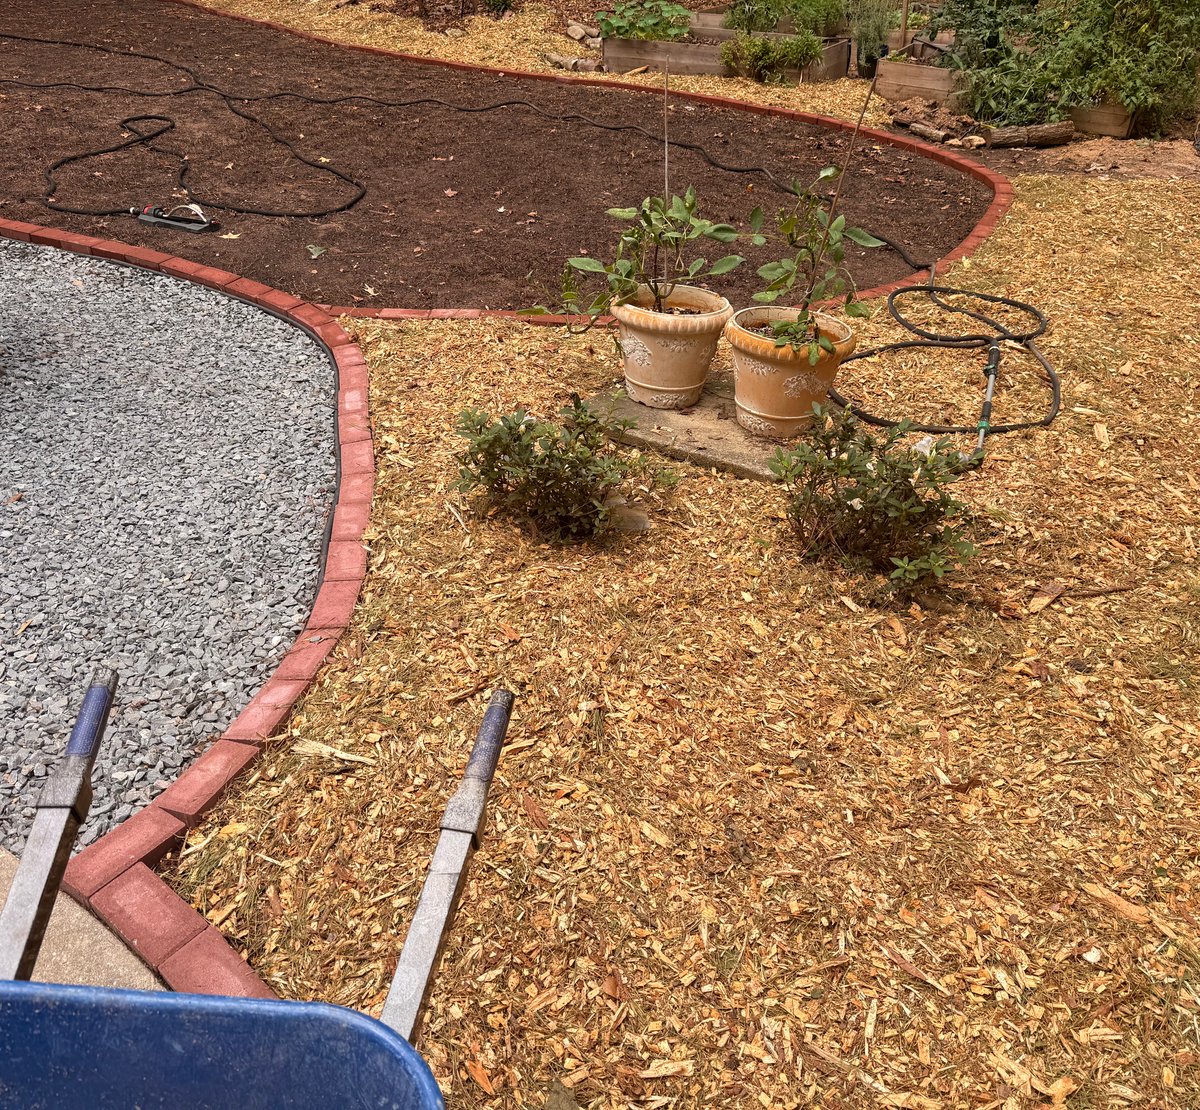
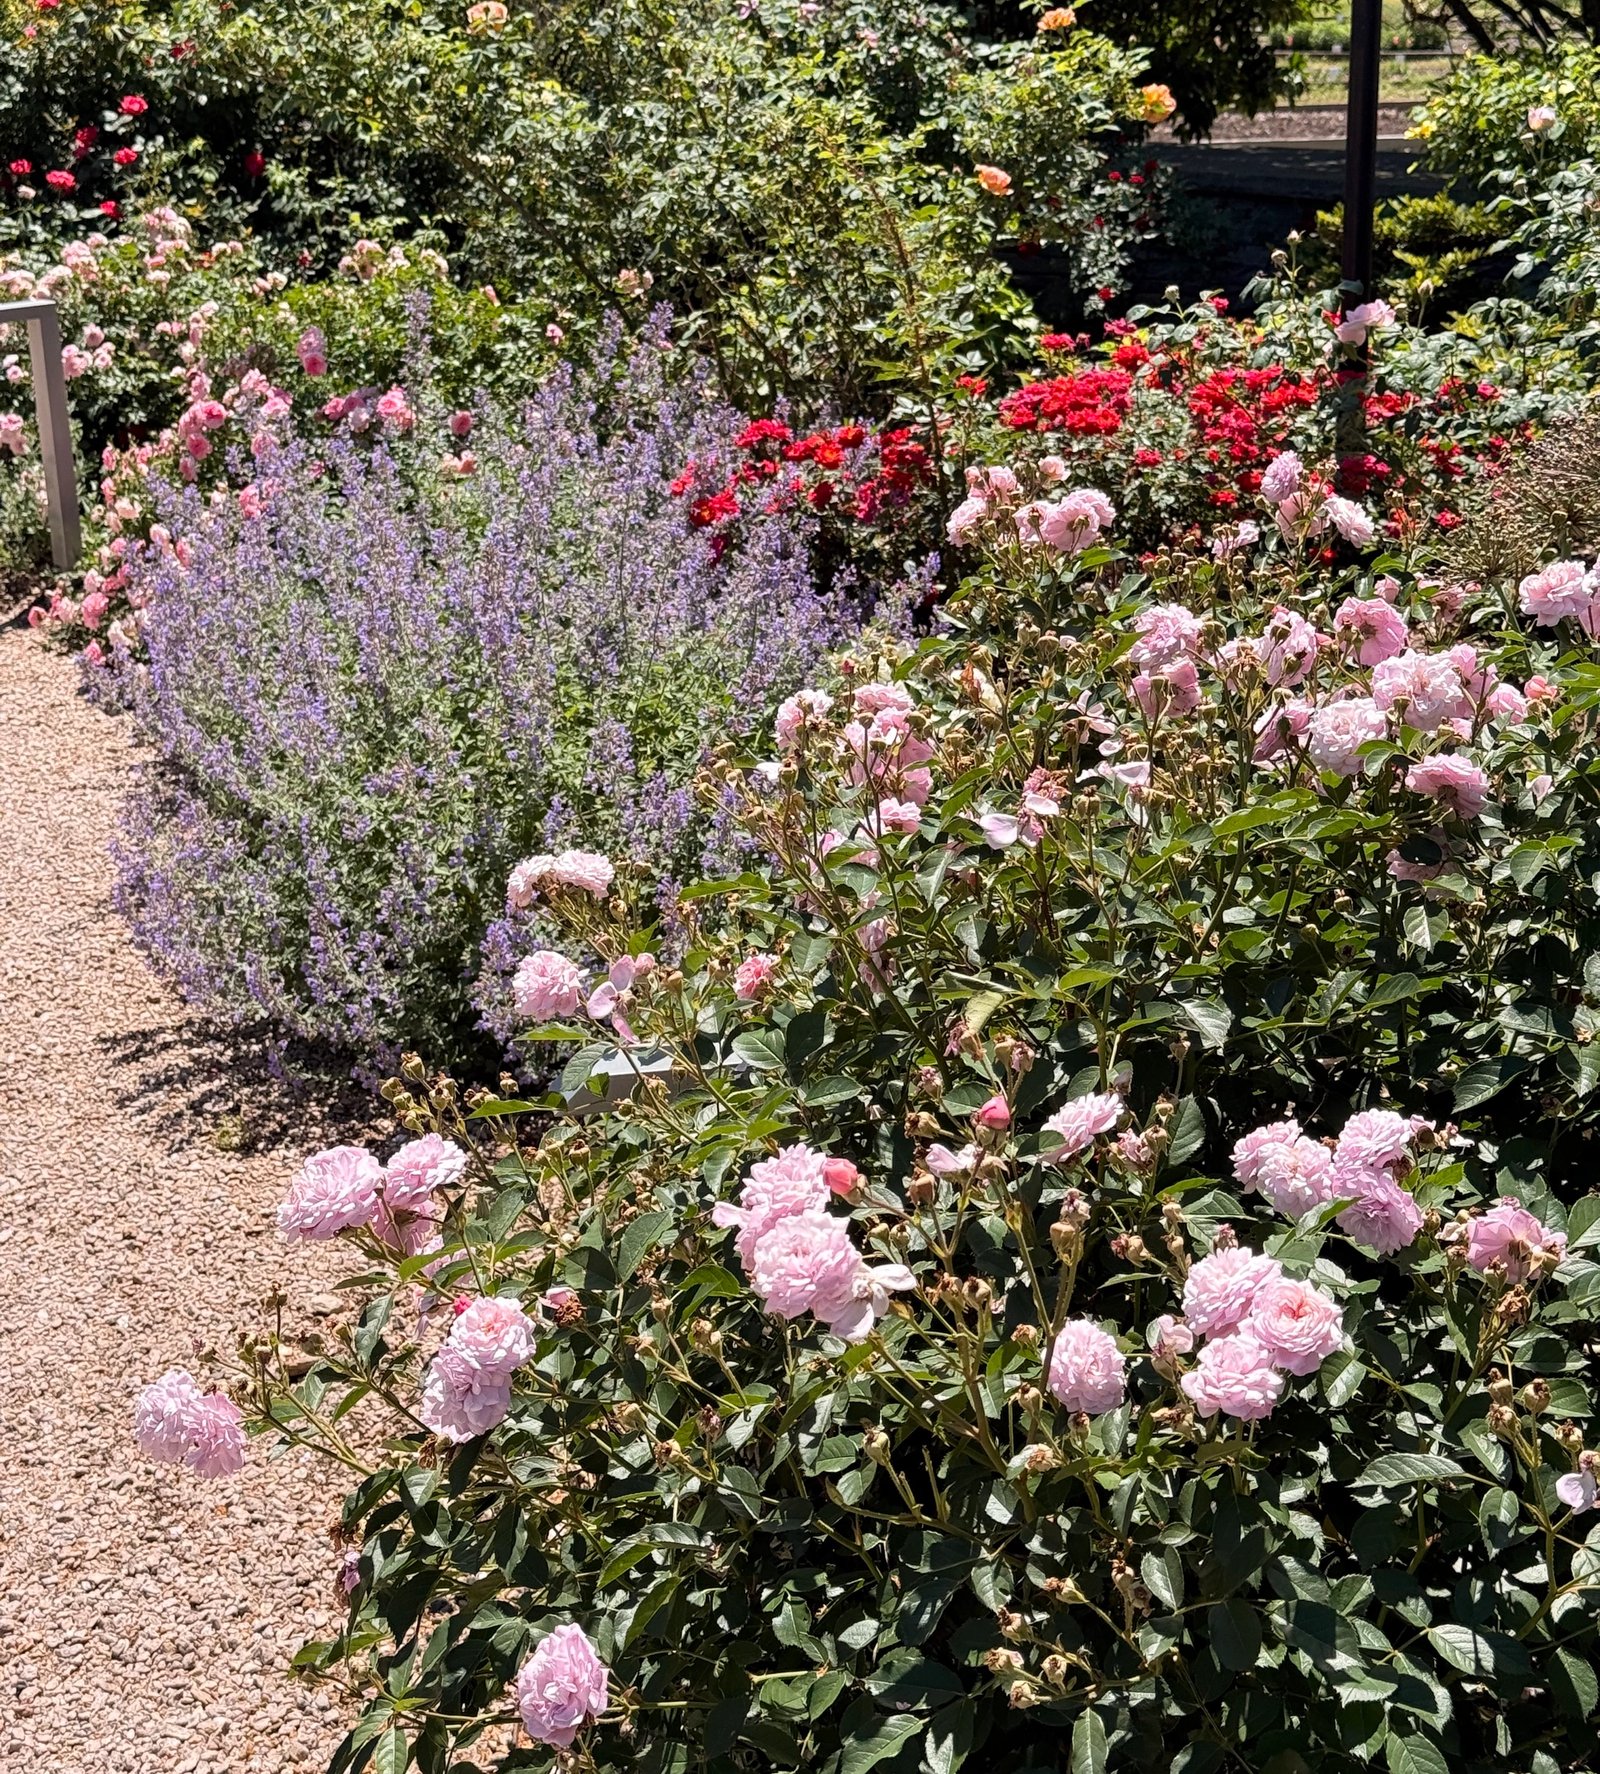
Use the anchor-filler-edge framework. Place structural shrubs (your "anchors") at the corners and key spots first. Fill between them with medium-height perennials and grasses. Finish with a clean low edge along the front. This is the same framework as any flower bed, but the spacing is tighter because foundation beds are usually only 3–5 feet deep.
Planning foundation beds is much easier when you can visualize the layout before planting.
Plan foundation beds before you plant. Map shrubs and spacing directly on your garden photo with BloomMap.
Include evergreen structure. At least 40–50% of your foundation planting should be evergreen - plants that hold their leaves through winter. Without this, your foundation beds will look bare and abandoned from November through March. Boxwood, holly, abelia, and loropetalum are all reliable evergreens for Zone 7b foundations.
Keep it simple. Foundation beds are not the place for a plant collection. Choose 3–5 varieties and repeat them. Repetition creates rhythm and makes the house look designed rather than cluttered. One drift of catmint is prettier than one catmint, one salvia, one daylily, one lavender, and one echinacea - each appearing once.
Step 4: Plant picks for foundation beds (Zone 7b /8a)
For corners and structural anchors (taller, 4–6 feet)
- Oakleaf Hydrangea. Native, shade-tolerant, four-season interest. White summer flowers age to pink, dramatic fall color, and peeling bark in winter. Mature size 4–6 feet tall and wide. Sun to partial shade.
- Loropetalum 'Purple Pixie' or 'Purple Diamond'. Evergreen with burgundy-purple foliage and pink fringe flowers in spring. There are compact varieties that stay 3–4 feet and larger ones that reach 6+ feet. Choose the right size for your space. Full sun to partial shade.
Plant list
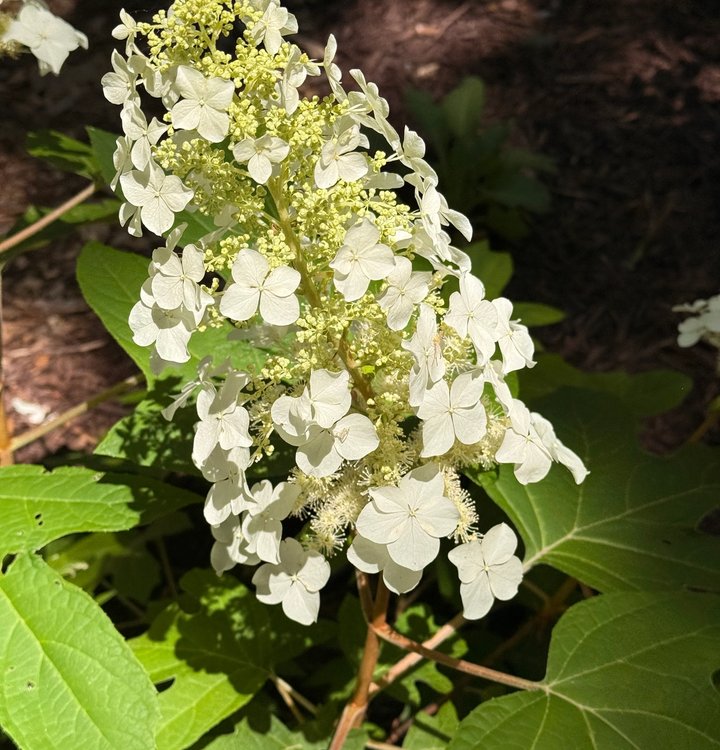
Oakleaf hydrangea
Part Shade • Part Sun • Shade
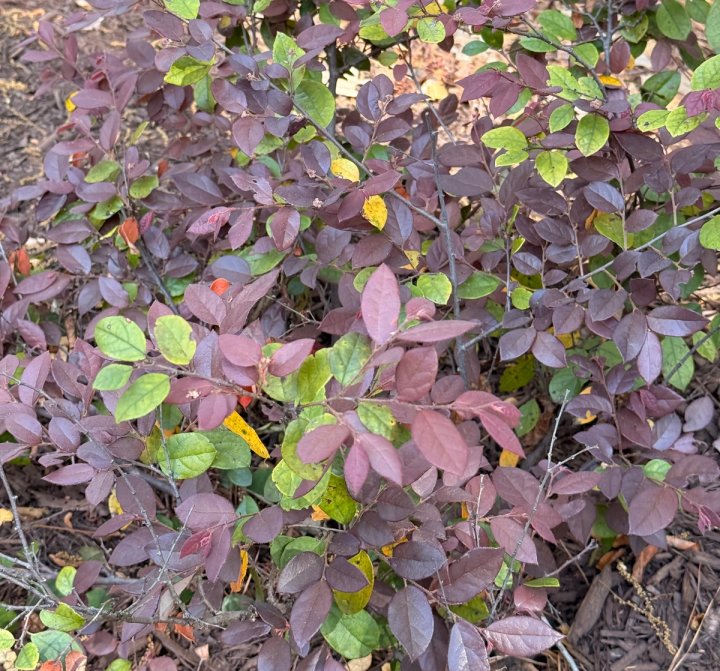
Loropetalum 'Purple Diamond'
Full Sun • Part Shade • Part Sun
For under windows and mid-bed (2–3 feet)
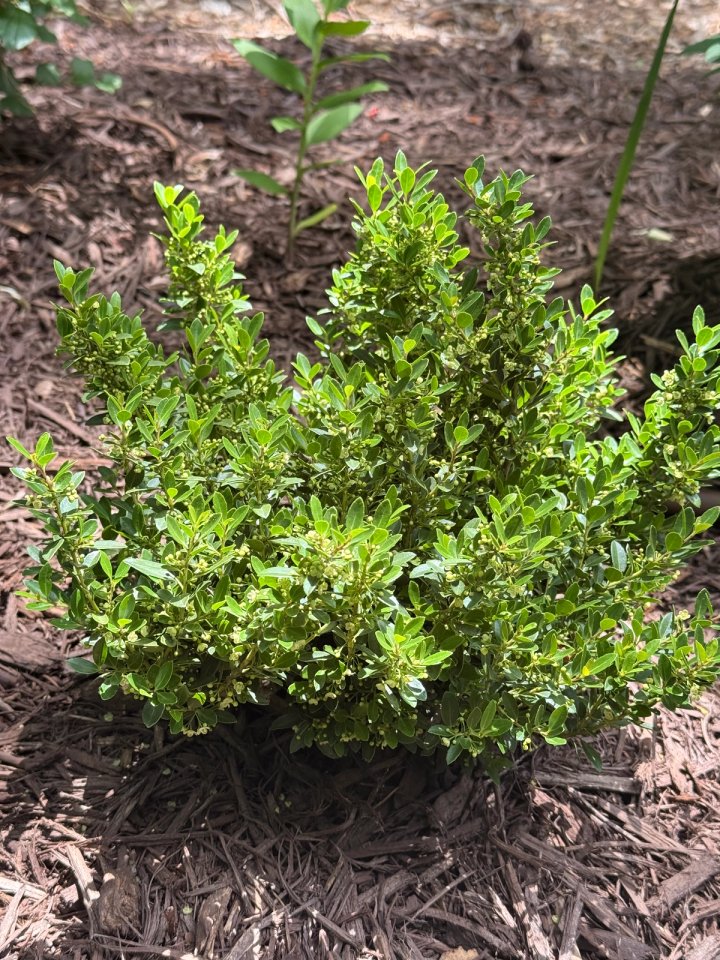
- The Dwarf Hoogendorn Holly (Ilex crenata 'Hoogendorn'). Compact, evergreen, incredibly tough. Naturally mounding shape needs almost no pruning. Handles sun or shade, drought-tolerant once established.
- Abelia 'Kaleidoscope' or 'Rose Creek'. Semi-evergreen, compact, with small flowers that attract butterflies. Beautiful multicolored foliage. Stays 2–3 feet with minimal pruning. Sun to partial shade.
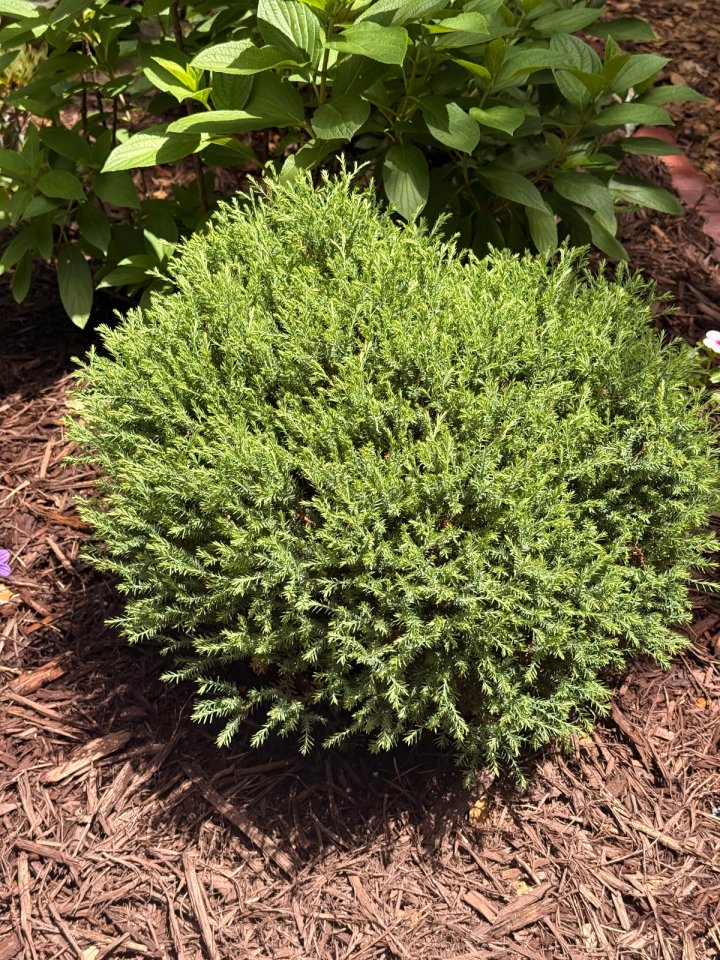
- Mr. Bowling Ball Arborvitae. Compact evergreen with a soft rounded shape and almost no maintenance needs. Great for under windows, foundation plantings, and adding year-round structure to front beds.
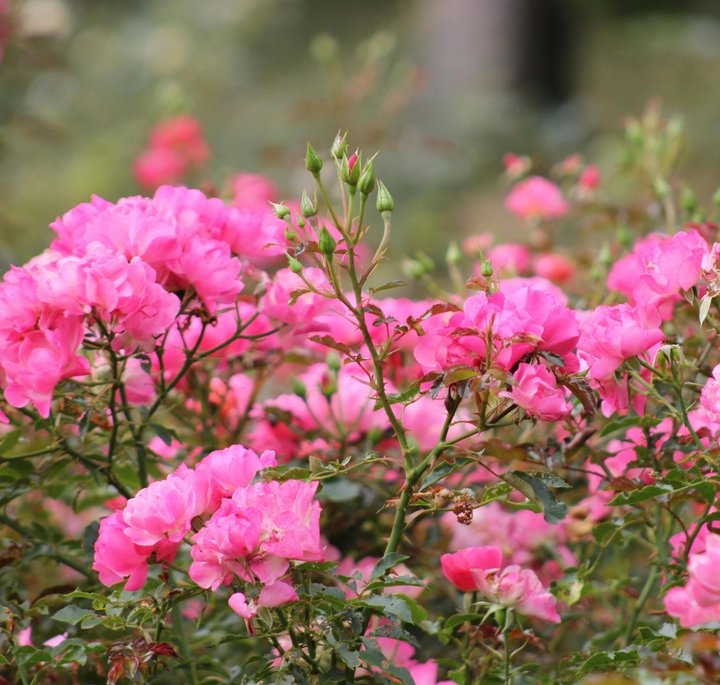
- Knockout Roses (shrub roses). If your foundation gets 6+ hours of sun, compact shrub roses provide continuous bloom from May through frost. Stay 3–4 feet tall and wide. Extremely low maintenance.
Plant list
Dwarf Hoogendorn Holly
Full Sun • Part Shade • Part Sun • Shade
Mr. Bowling Ball Arborvitae
Full Sun • Part Sun
Knockout Rose
Full Sun • Part Sun
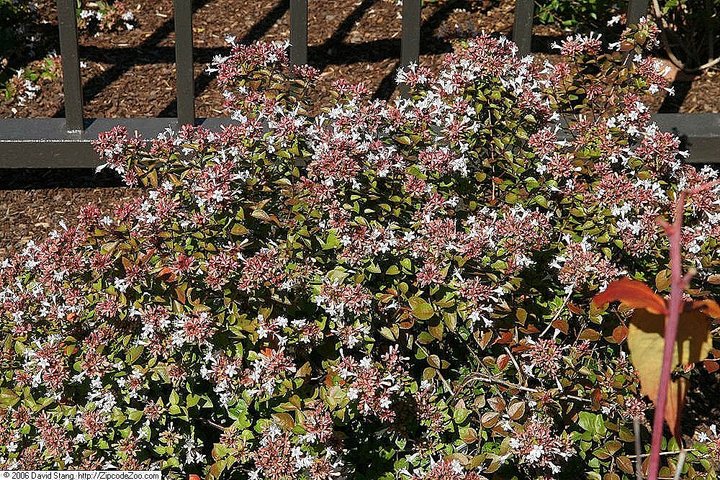
Rose Creek Abelia
Full Sun • Part Shade
For the front edge (under 18 inches)
- Dwarf Mondo Grass. Stays 4-6 inches tall. Works as a dense groundcover between stepping stones or at the very front of the bed. Shade to partial sun.
- Heuchera (coral bells). For foundations that get some shade, heuchera adds foliage color - burgundy, lime, amber, silver - in neat low mounds. Semi-evergreen in Zone 7b.
- Carex (sedge grasses). Fine-textured, evergreen, and low-maintenance. 'Everillo' is chartreuse, 'Ice Dance' is variegated. They soften edges without growing too tall.
Plant list

Dwarf Mondo Grass
Part Shade • Shade
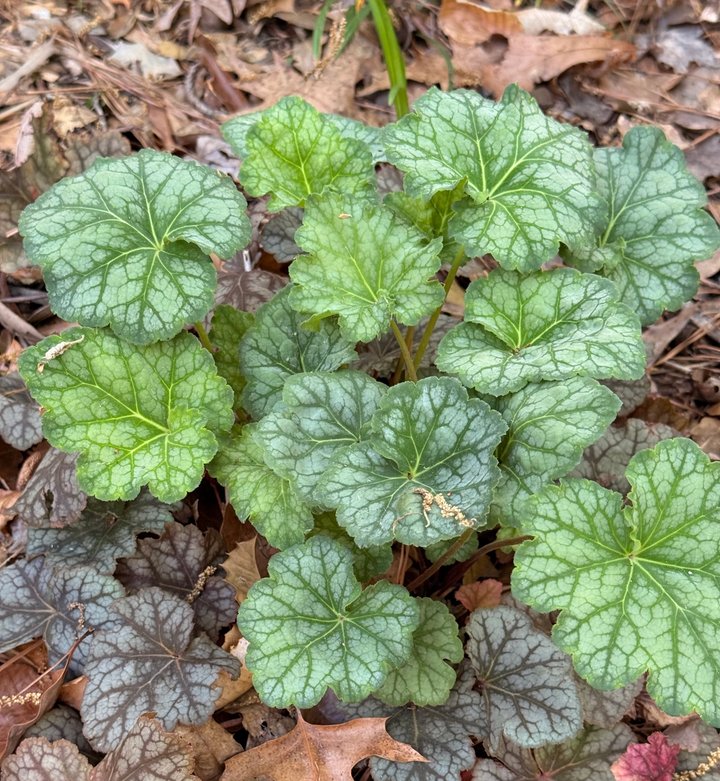
Heuchera (Coral bells)
Part Shade • Part Sun • Shade
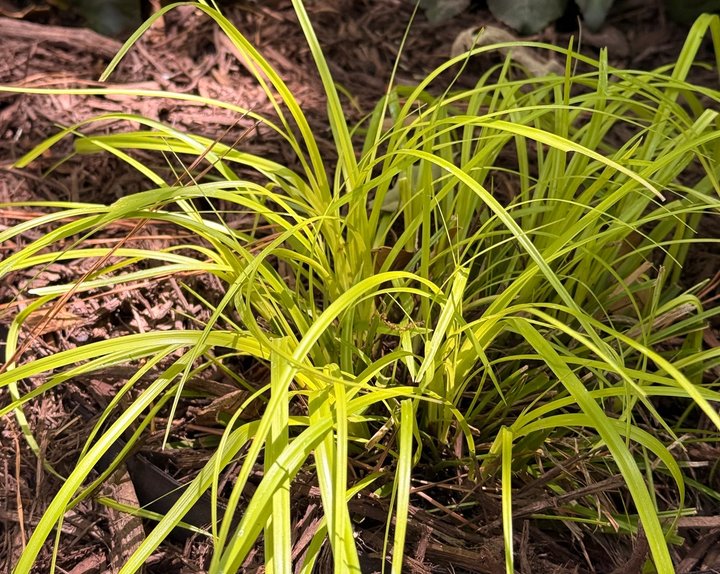
Carex Everillo (Japanese sedge)
Full Sun • Part Shade • Part Sun • Shade
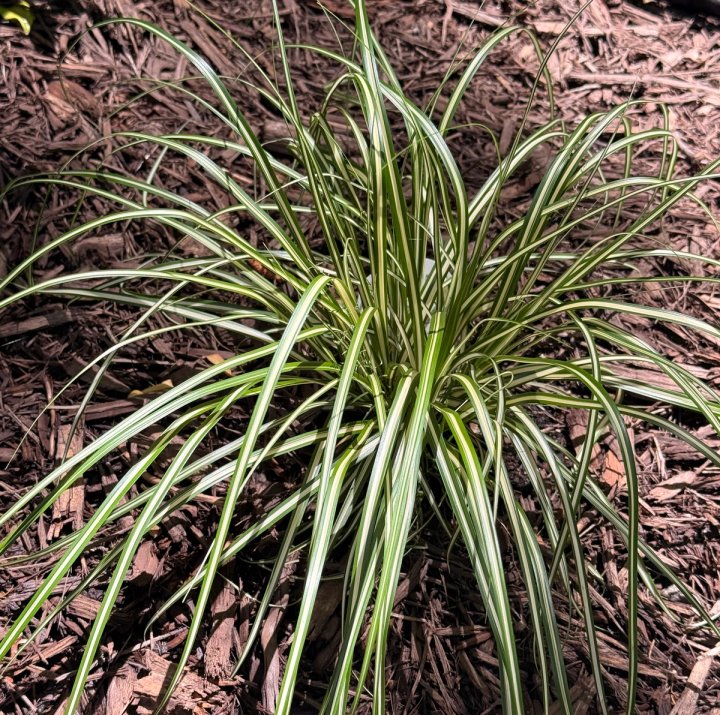
Feather Falls Sedge (Carex oshimensis 'ET CRX01')
Full Sun • Part Shade • Part Sun • Shade
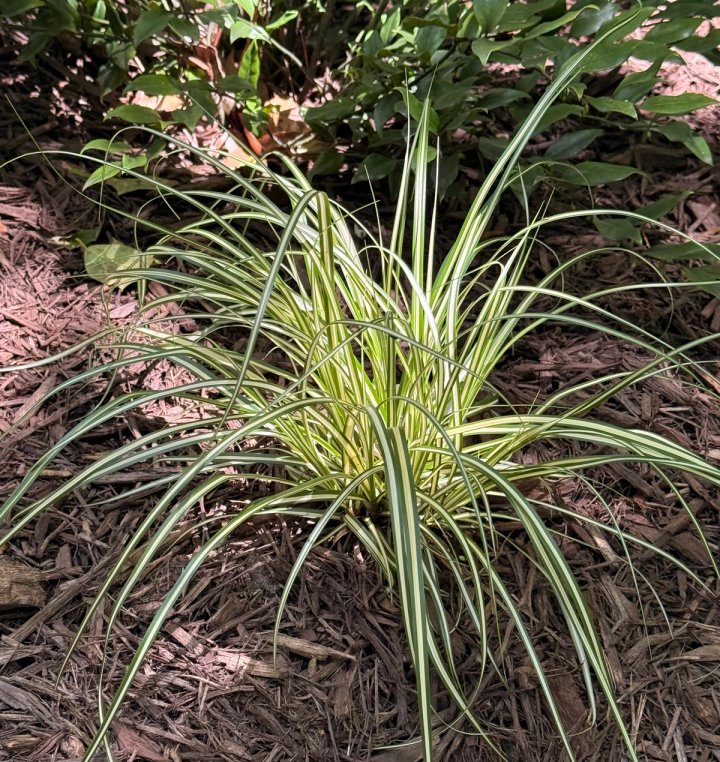
Evergold Sedge (Carex oshimensis 'Evergold')
Part Shade • Part Sun • Shade
Perennials to add seasonal color between shrubs
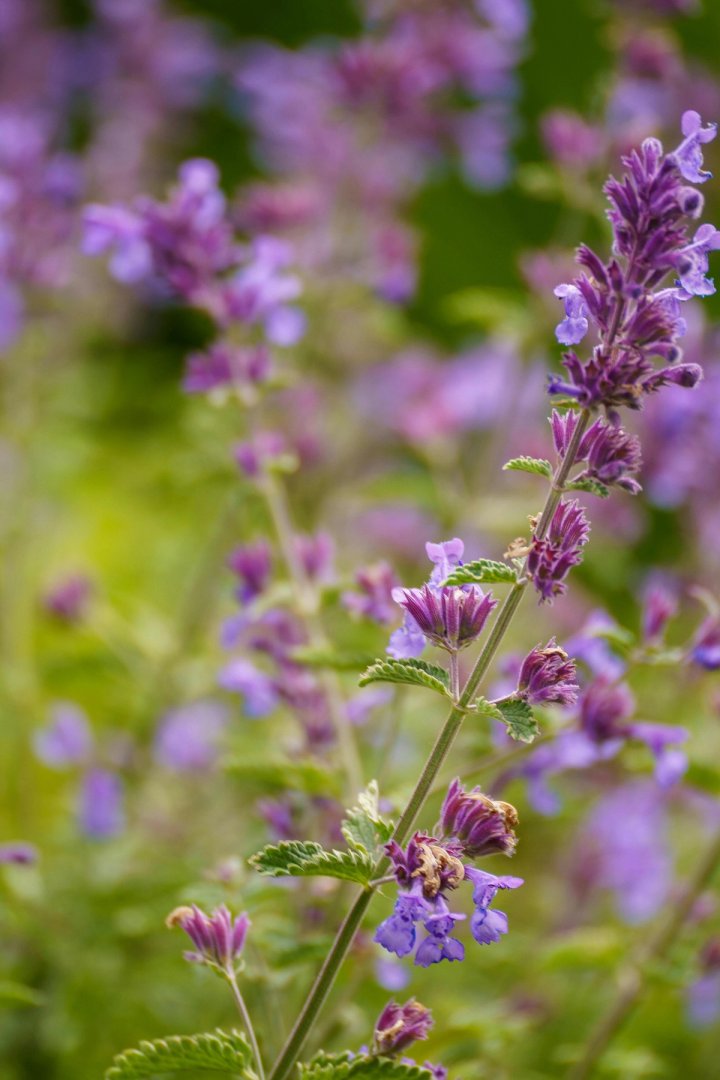
- Catmint 'Walker's Low'. Lavender-blue mounds that bloom May through October. Deer-resistant, drought-tolerant, and beautiful spilling over the front edge of a foundation bed.
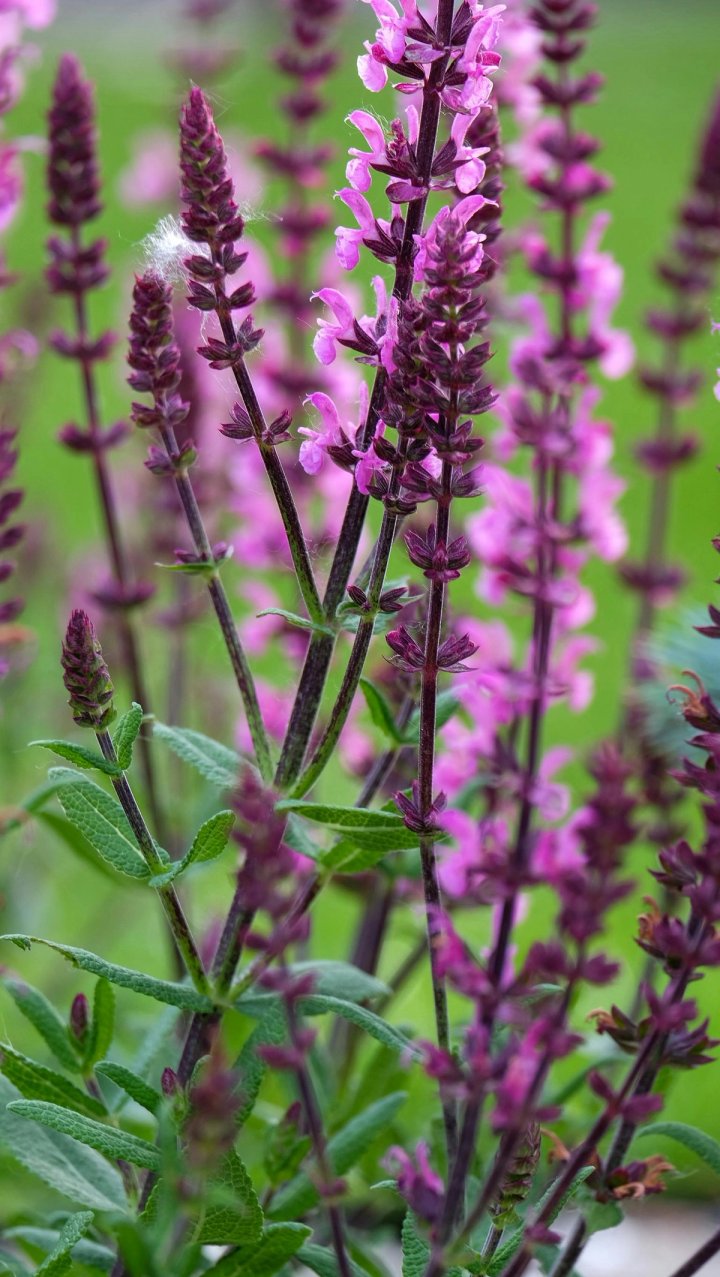
- Salvia 'May Night'. Deep purple spikes that pair well with any shrub. Cut back after first bloom for a second flush. Full sun.
- Daylilies. Foolproof summer color in yellow, orange, pink, or red. Plant mid-bed for a burst of bloom between evergreen shrubs.
Plant list
Catmint
Full Sun

Salvia May night
Full Sun • Part Sun
Salvia 'Caradonna'
Full Sun
Step 5: After planting - maintenance that matters
Water new plantings deeply once a week for the first growing season. Foundation beds near the house can be drier than they appear - roof overhangs block rain, and the soil against a foundation drains faster than you'd think.
Don't fertilize heavily in the first year. Let plants establish their roots. A light application of slow-release balanced fertilizer in spring of the second year is enough.
Refresh mulch once a year in early spring. Top up to maintain 2–3 inches, but never pile higher. And always, always maintain that gap between mulch and siding.
The foundation planting checklist
Before you buy plants:
Tips
- Grade slopes away from house
- Drainage checked, downspouts extended
- Old grass and weeds removed
- Soil amended with compost
- 6–12 inches of foundation visible above soil/mulch line
- Maintenance access path planned behind planting
- Mature sizes of all plants confirmed
- 40–50% of plants are evergreen
- Nothing will block windows at maturity
A well-done foundation bed transforms your house from "building sitting on dirt" to "home settled into its landscape." But the transformation starts underground - with drainage, soil, and clearance - not at the nursery. Do the prep work, and the plants practically take care of themselves.
Related ideas
More to explore

Garden design
How I Track My Garden Year by Year (Without Guessing Every Spring)
If you forget what you planted every spring, this simple visual system helps you track your garden year by year - without notes or guesswork.
May 6, 2026

Garden design
Native Plants for a Pollinator Garden in the Southeast - What to Grow, Who It Feeds
Here are the plants that earn their place - organized by what they feed and when they bloom.
April 27, 2026

Planting Tips
What to Plant in Spring (Zone 7b/ 8a) - Raleigh NC Month-by-Month Guide
Spring in the Raleigh area doesn’t arrive all at once. It unfolds gradually - from chilly March mornings and surprise frosts to the warm, reliable sunshine of May.
April 26, 2026