

How to Design a Garden Bed Like a Designer: The 5 Principles That Make It Look Intentional
Garden design
July 21, 2026
You can buy every plant on a best-perennials list, put them all in the ground, and end up with something that looks like a plant sale display rack - one of everything, no logic, nothing to rest your eye on. Meanwhile the gardens you save on Pinterest, the ones that look intentional, often use fewer plant varieties than yours. Not better plants. Better arrangement.
That's the whole secret, and it isn't a secret to designers: a garden that looks designed follows a handful of principles that have nothing to do with which plants you own. I trained as a designer before I ever planted a bed, and the rules I use outside in the garden are the same ones I'd use to lay out a room. Here are the five that do the most work - the ones that turn a collection of plants into a composition.
In this article
- Principle 1: Layer by height (back, middle, front)
- Principle 2: Build in structural layers (the four-layer method)
- Use the things that aren't plants
- Principle 3: Choose a color strategy - and commit
- Principle 4: Repeat, and plant in drifts
- Principle 5: Sequence the bloom
- Putting it together: one bed, all five principles
Principle 1: Layer by height - back, middle, front
This is the most basic principle and the one most beginners skip. Tall plants at the back of a border, medium in the middle, low at the front. Against a wall or fence it's a straight gradient; for an island bed viewed from all sides, tallest goes in the center and heights step down toward every edge.
The reason it works is simple: you can see every plant. Nothing hides behind anything taller. But the version that looks designed, not just neat, bends that rule on purpose - it pulls one tall, see-through plant forward toward the front. Airy plants like verbena bonariensis or a loose grass have stems you look through, so they add height at the front edge without blocking anything. That one intentional exception is what keeps height-layering from looking like a stadium of bleachers.
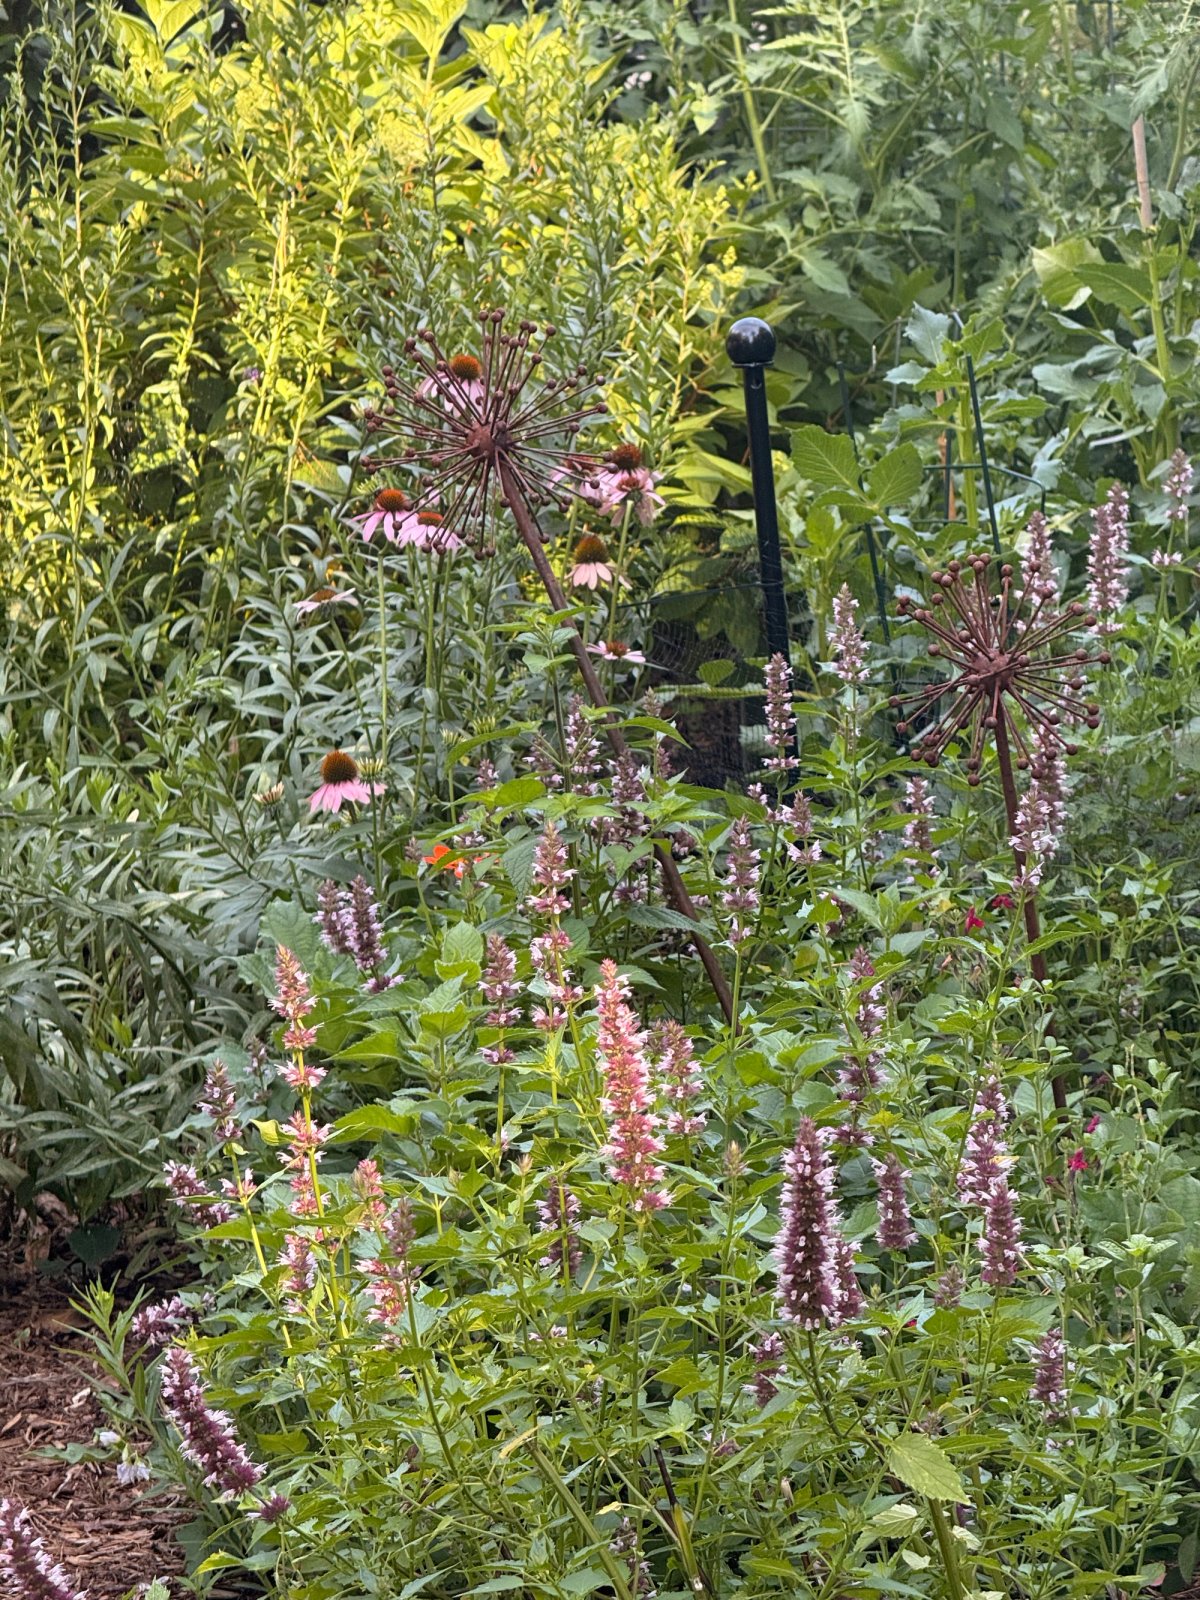
Here's the rough cheat sheet I plan with: back = 4 ft and up (Joe Pye weed, tall grasses, shrubs), middle = 2–4 ft (coneflower, salvia, bee balm), front = under 2 ft (catmint, dianthus, low asters, groundcovers).
Principle 2: Build in structural layers - the four-layer method
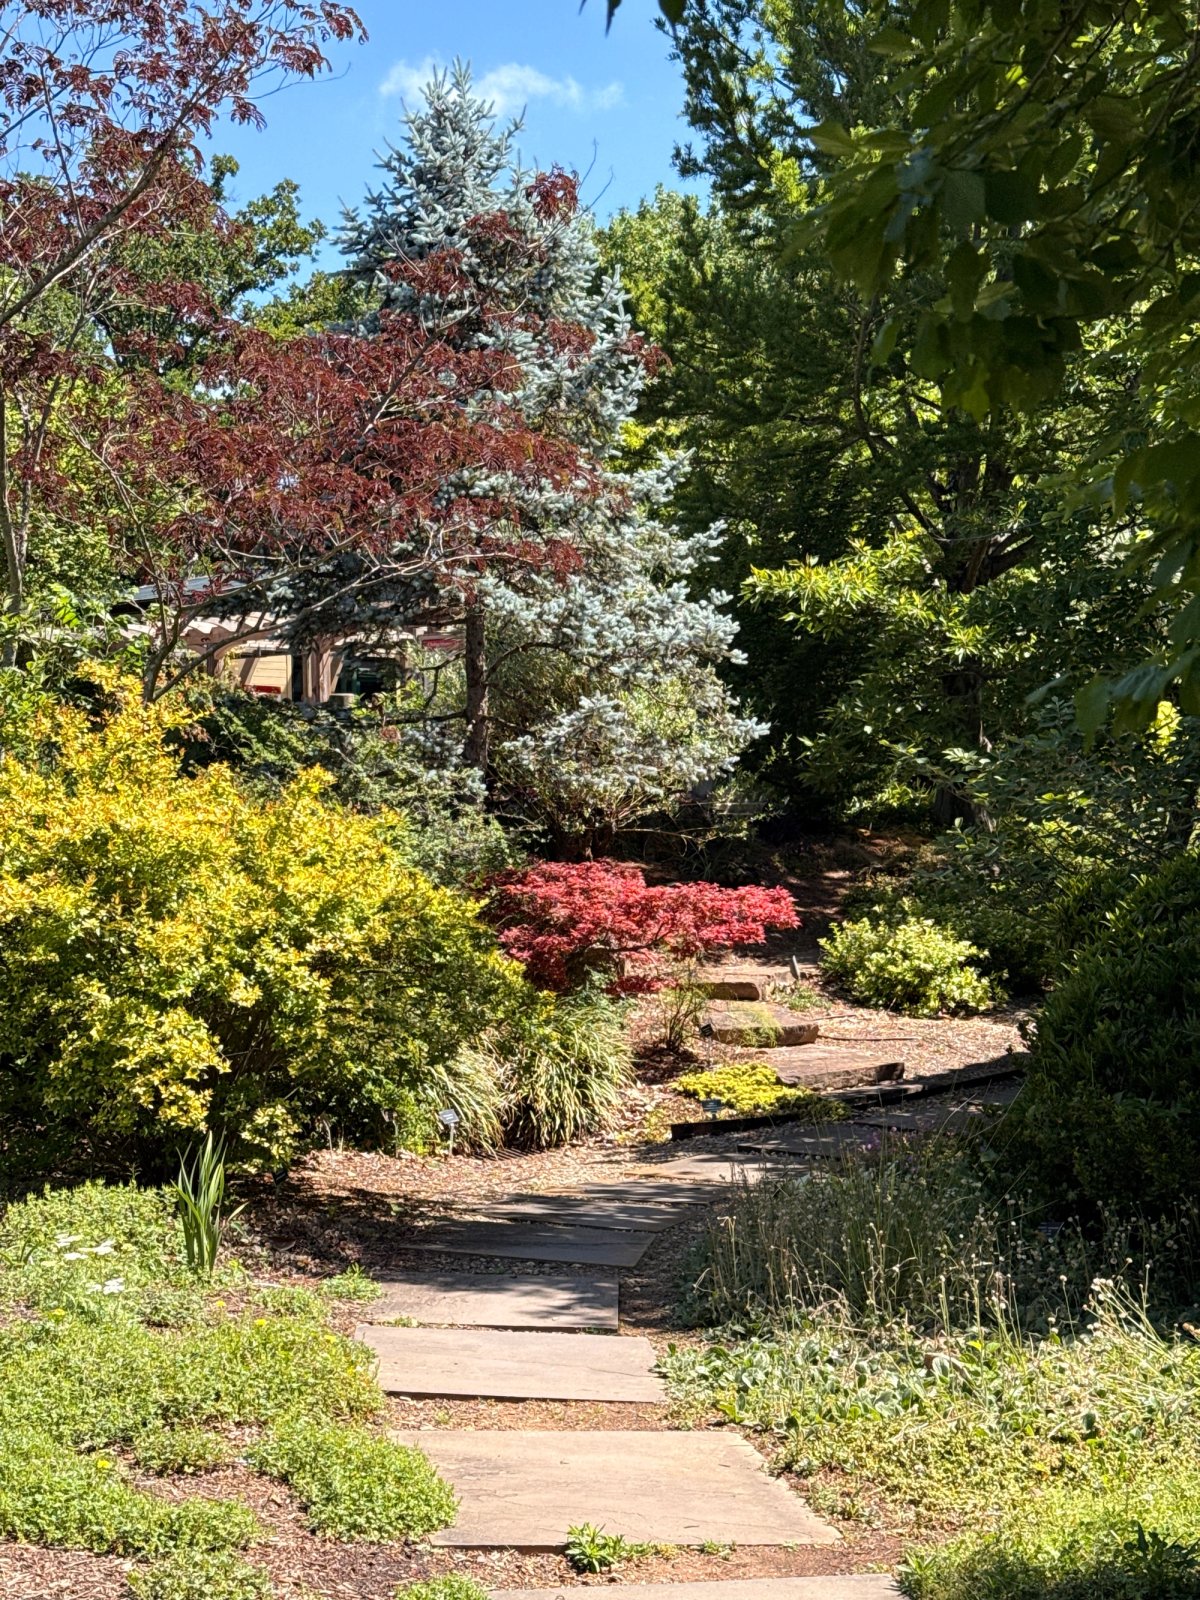
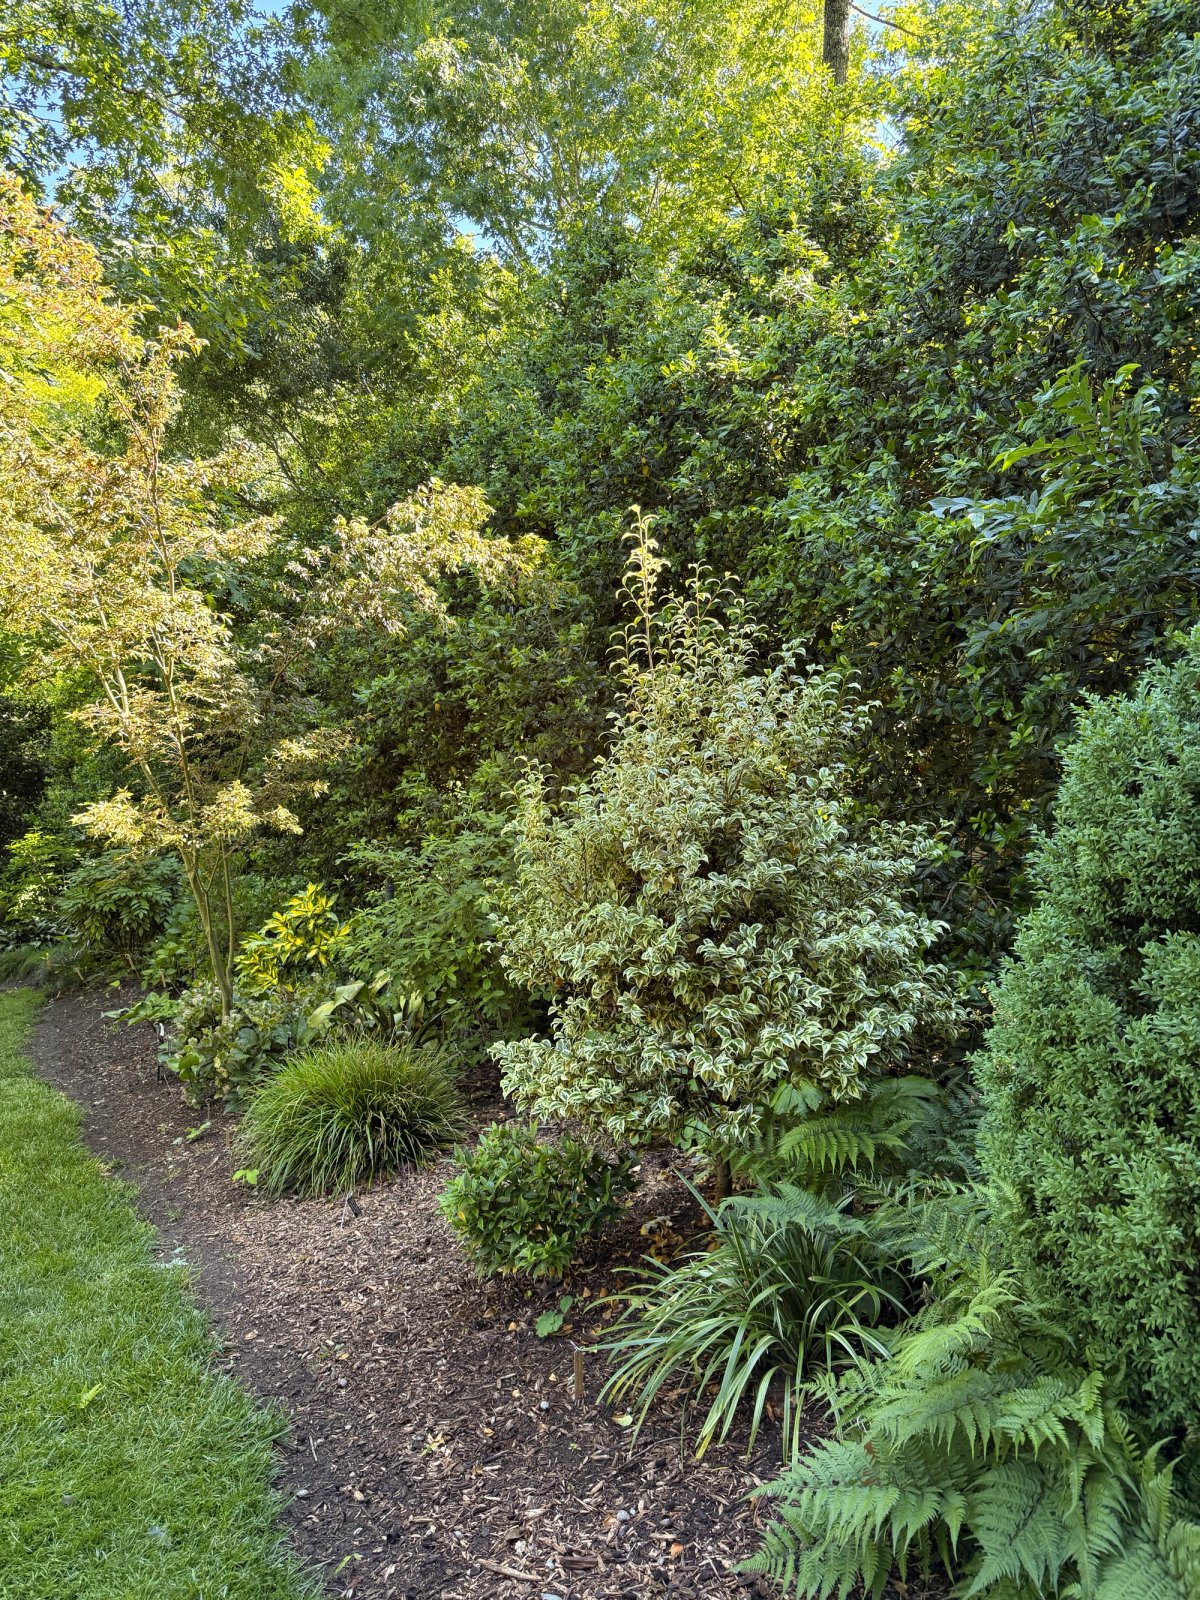
Height layering arranges what you can see now. Structural layering is what keeps the bed from turning into bare dirt and sticks for the months nothing is blooming. It's the biggest thing that separates a designed bed from a bed that only looks good in summer. Think of a bed as four layers stacked by permanence, not height:
Layer 1 - Evergreen bones. The plants that are still there in February. Evergreen shrubs, broadleaf evergreens, and a few evergreen groundcovers. Without this layer your garden simply disappears in winter. In NC that might be a compact holly, a boxwood or its alternatives, a rhododendron, or an evergreen sweetbox along a path. This is the layer beginners forget entirely, and it's why their gardens look dead half the year.
Layer 2 - The framework (shrubs that lose their leaves). Shrubs and small trees that lose their leaves but keep their shape - and often earn their place in winter through bark, berries, or branch structure. A winterberry holly covered in red berries on bare branches, an oakleaf hydrangea with peeling bark, or a serviceberry. These give the bed architecture even when leafless.
Layer 3 - Perennial color. This is the layer everyone shops for - the coneflower, salvia, phlox, and asters. The mistake is starting here, treating this as the whole garden. It's one layer of four. When it sits inside Layers 1 and 2, the bed looks full and framed. On its own, it looks bare and empty from October to April.
Layer 4 - Groundcover carpet. Low plants that cover the bare soil, keep weeds down, and tie the whole bed together - the rug of the room. Creeping phlox, low sedges, ajuga, wild ginger in shade, and hardy geranium spilling at the front. This layer also does real work: covered soil grows fewer weeds.
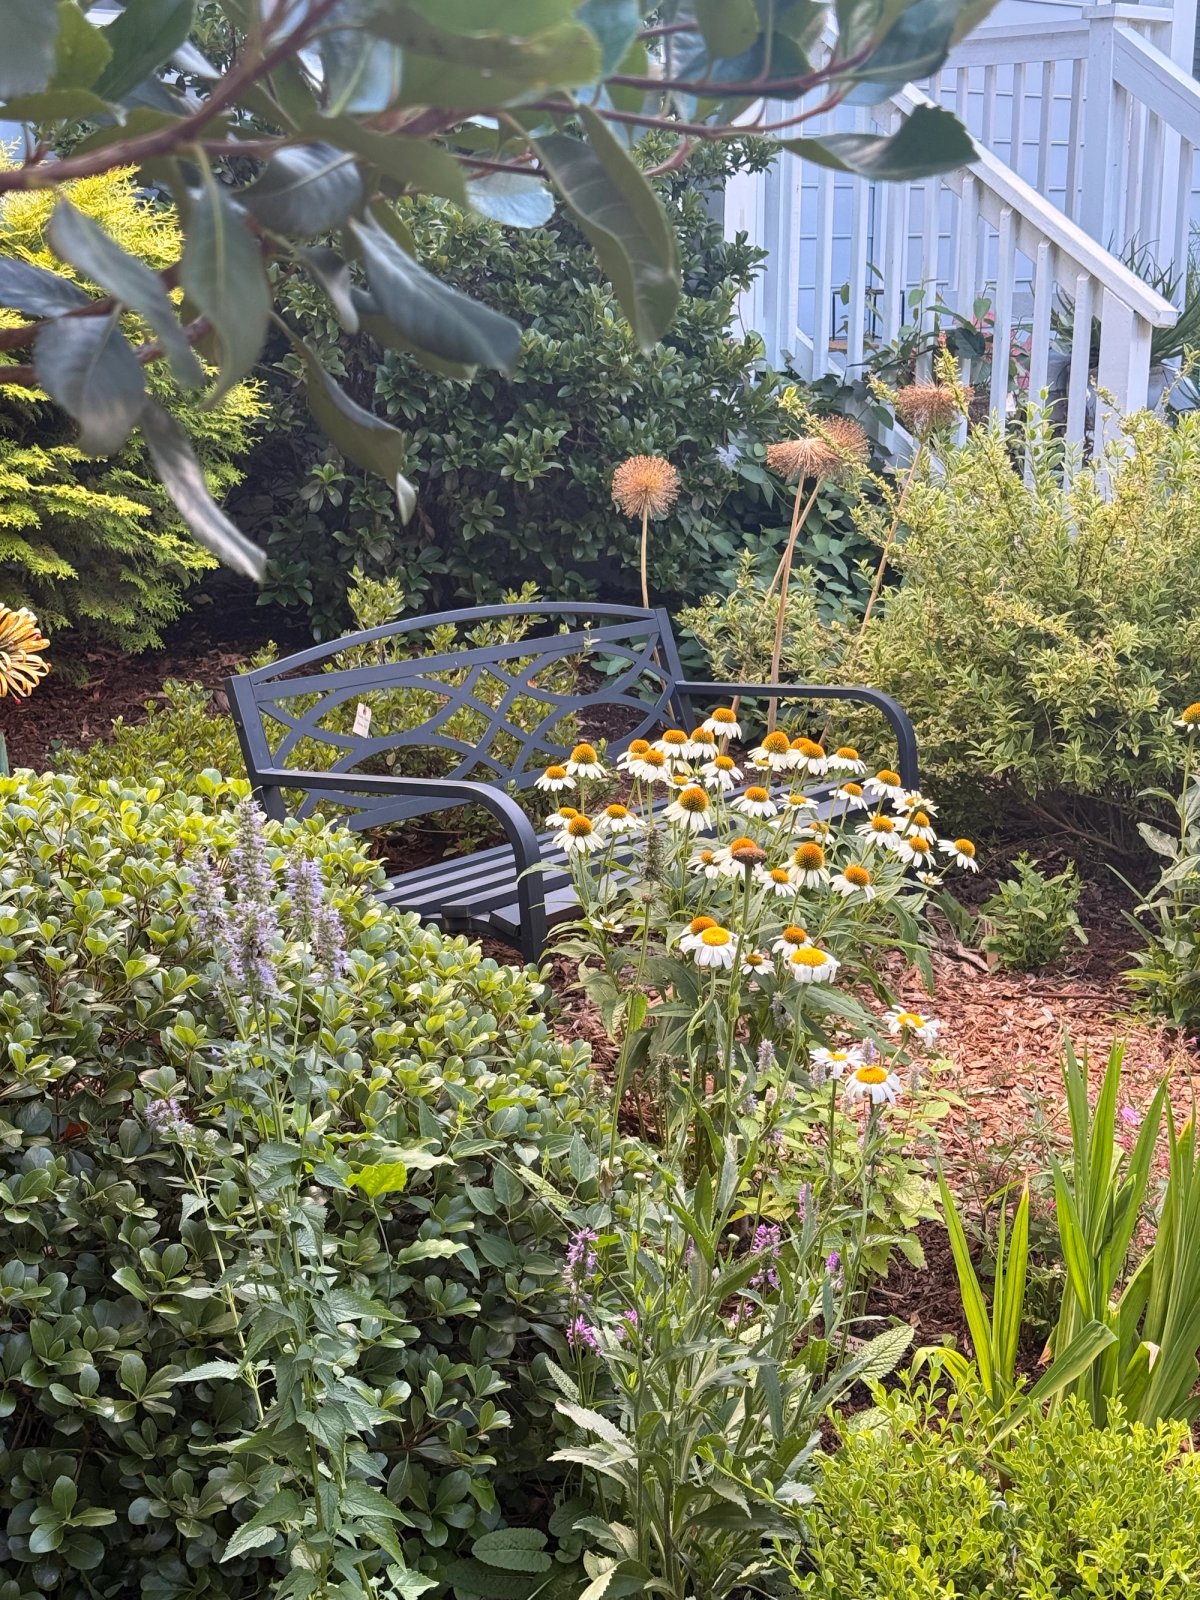
You don't need all four in a tiny bed, but naming them tells you what's missing. Nine times out of ten, an amateur bed is all Layer 3 - and adding one evergreen shrub and one groundcover transforms it.
Use the things that aren't plants
Plants are only part of what makes a garden feel designed. The paths, walls, patios, steps, and structures around them give the garden a shape that lasts through every season.
Designers call it hardscape - the built, non-plant parts of a garden - and it gives a space its bones and its function. A low retaining wall can hold a slope and double as casual seating. A stone or gravel path tells your eye where to go. A patio, a set of steps, a gravel sitting area, or a simple arbor or gazebo stays almost exactly the same in February as it does in July. One good stone edge or a short wall can make a garden read as designed before you've planted a single thing, because the structure is already there.

Leave places for the eye to rest
A common mistake - I've made it myself - is trying to fill every square inch with plants. Every gap feels like a missed opportunity, so you put something into it. The result is a garden with nowhere for your eye to land. It's all detail and no pause.
The fix is to leave calm, open spaces on purpose: a patch of plain lawn, a swept gravel area, a simple stretch of mulch, or a bench with a little breathing room around it. Designers call this negative space. It does for a garden what silence does for music - it makes everything around it register. Give the busy, colorful parts of the garden something quiet to sit against.
A birdbath earns its place twice
One piece of hardscape does something the others don't: it brings the garden to life. A birdbath, shallow basin, or small water feature is a decorative focal point and a practical place for wildlife to drink.
During a dry year like this one in central North Carolina, that second job matters even more. When shallow natural water sources shrink or disappear, a clean dish of water gives birds and insects a reliable place to drink.
The shape matters for smaller visitors. Bees need a shallow, gently sloped edge or stones and pebbles that rise above the water as landing places; steep, slick sides give them nowhere safe to stand. Keep the water shallow, refresh it every few days, and scrub the basin regularly so it stays clean and does not become a mosquito nursery. It may be the hardest-working square foot in the garden - for the price of a bowl.
Principle 3: Choose a color strategy - and commit
Color is the easiest thing to get wrong. The instinct is to want every color, so people buy one red, one orange, one purple, one yellow, and the bed just looks busy. A designed bed picks one and sticks with it. These are three reliable places to start.
Strategy A - Analogous: pink, purple, blue, and silver
Colors that sit next to each other on the wheel blend without clashing. Pink to purple to blue is the classic, and it's the easiest palette in gardening. This is the soft, romantic, cottage look. It's forgiving enough that it's the palette I'd hand any beginner first. I wrote a full guide to designing a pink-and-purple bed, including how to control tone so it doesn't get muddy.

Strategy B - Warm family: gold, orange, russet, and bronze
Keep everything in the warm half of the wheel, with no cools. This is the prairie-meadow look - rich and dramatic, especially in late summer and fall as grasses turn copper. Black-eyed Susan, goldenrod, butterfly weed, and warm-season grasses all belong here.

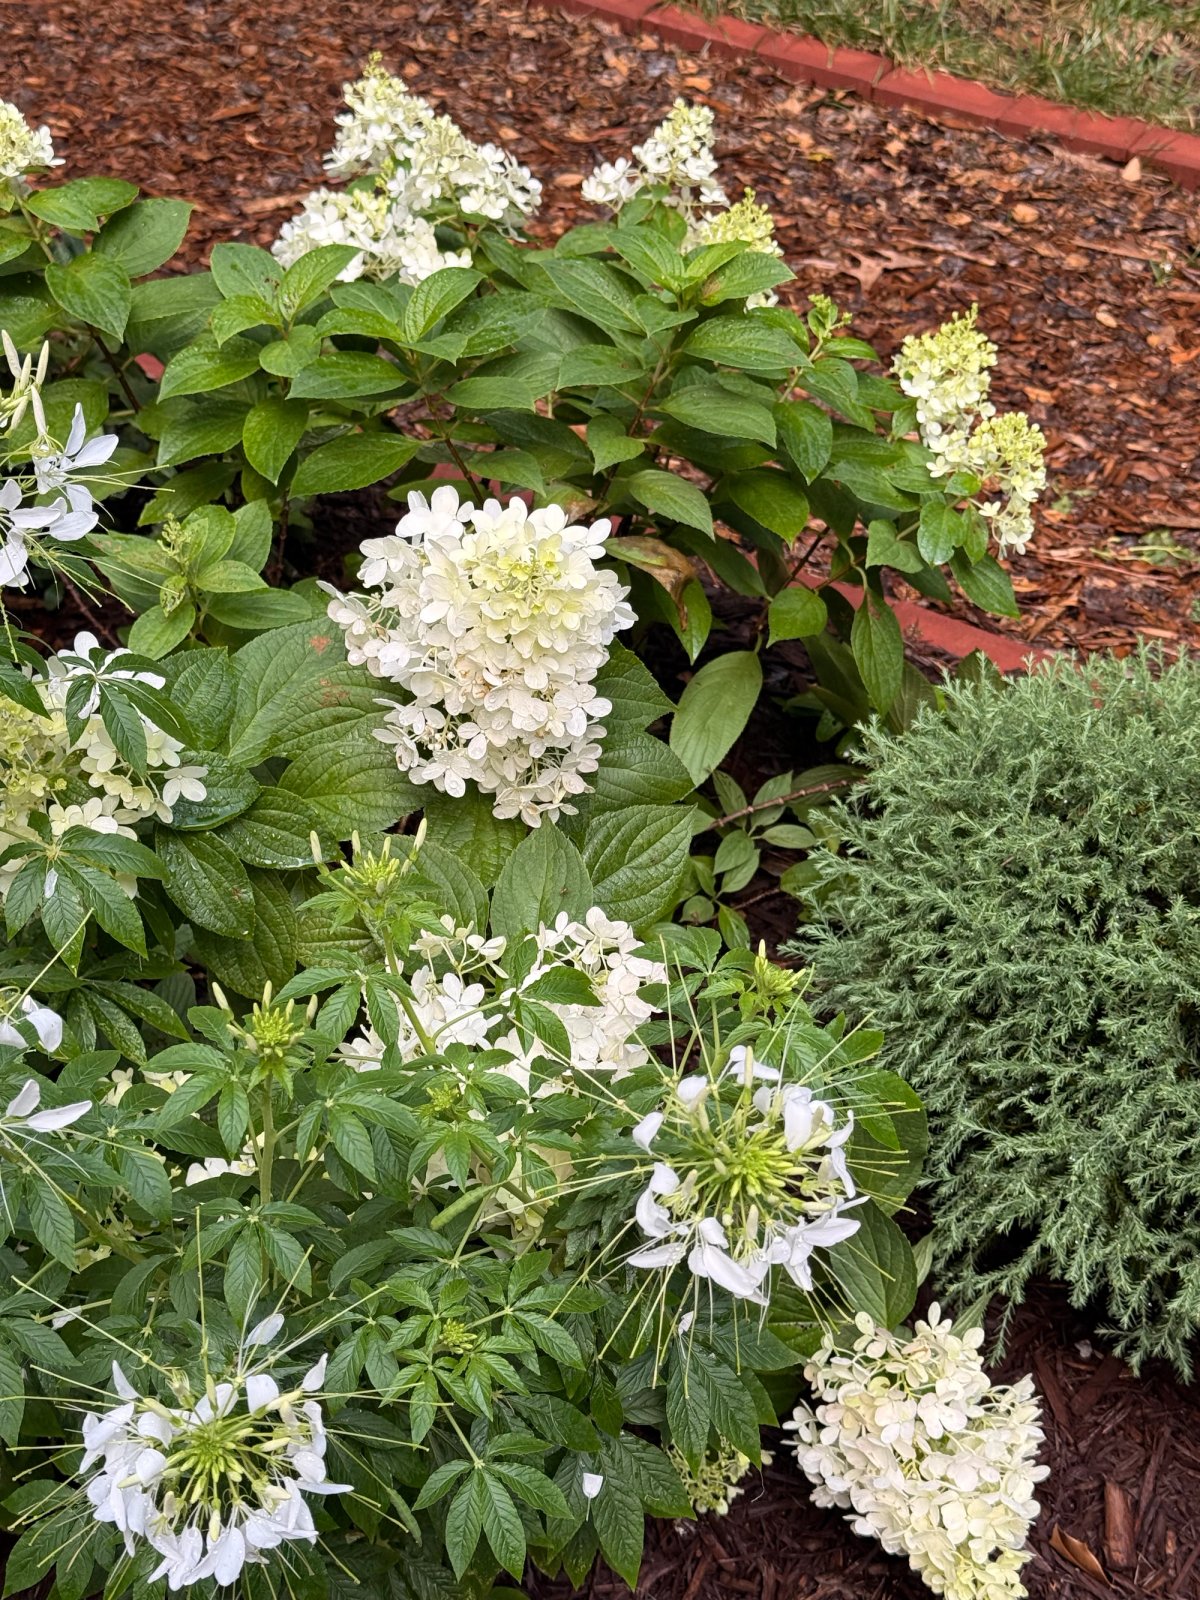
Strategy C - White and green: clean, calm, and structural
A white-and-green bed lets form and foliage do the talking. It feels calmer and more architectural than a multicolor border, and it works especially well in part shade or near an entry. White boneset, white wild indigo, mountain mint, inkberry holly, sweetbay magnolia, and oakleaf hydrangea can build the palette without making it flat.

If you want more contrast, use a complementary accent: one dominant color plus a small hit of its opposite. A mostly-purple bed with a few spots of yellow makes the purple vibrate. Blue and yellow is the combination that, in my experience, never misses - cool and warm holding each other up.
Two rules make any strategy work. First, choose a tone and stay in it - a bed that jumps from pale lavender to hot magenta loses coherence even though both are purple. Second, use the supporting cast: white flowers as a palate cleanser and silver or grey foliage as the frame that makes every flower color sing. Chartreuse foliage does the opposite job - it creates an electric, modern contrast against purple rather than a calming one.
When color isn't the point: texture
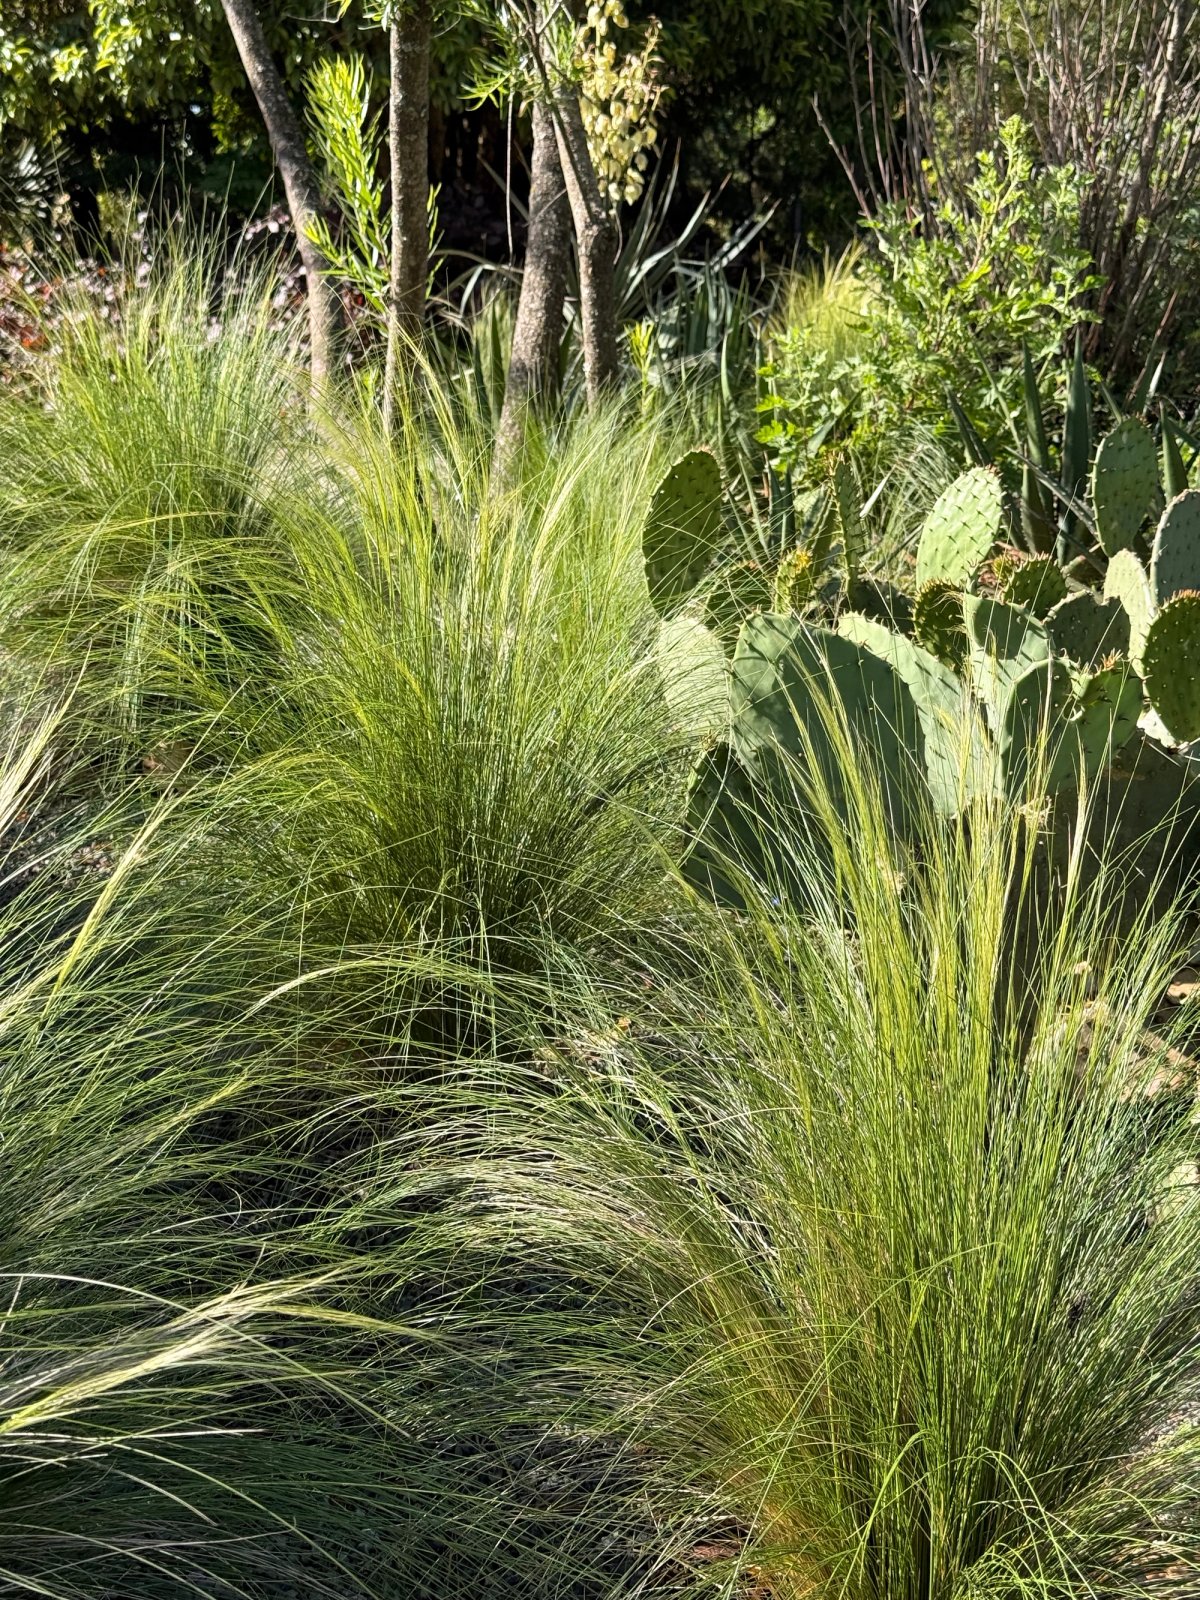
Color gets all the attention, but texture carries a planting when there isn't much color to work with - and in a shade or foliage garden, it can be the whole game. A bed of nothing but green can look rich and deliberate or flat and dull. The difference is contrast in texture.
The trick is to place different leaf types next to each other on purpose. A big, broad hosta leaf beside a fine fern frond beside a narrow, grass-like sedge - the same green, but a completely different feel. Play leaf surfaces against each other too: glossy against matte, smooth against hairy or fuzzy, bold against lacy, upright blades against low mounds. In a shade garden especially, this is how you make green interesting: stop relying on flowers to do all the work and let the foliage carry the design.
Principle 4: Repeat, and plant in drifts
Here's the rule that instantly separates designed from random: plant in drifts of one species, not one of everything. Five coneflowers flowing into seven black-eyed Susans flowing into a mass of catmint reads as rhythm. One coneflower beside one salvia beside one blazing star reads as a sample rack.
Two mechanisms are at work. Drifts - elongated groups of 3, 5, or 7 of the same plant, odd numbers so the grouping never feels rigidly paired - give each color enough mass to register from a distance. And repetition - using that same drift again elsewhere in the bed - is what makes a long border feel composed rather than like three unrelated gardens in a row. Pick two or three plants and repeat them down the whole bed. Let everything else fill in around them. Your eye follows the repeated element like a beat in music.
This is also, not coincidentally, how you make pollinators happier: a concentrated drift of seven is a destination, while a single scattered plant is a rest stop they may never find. The design rule and the ecology rule are the same rule. If you want the plant-by-plant version of this - tested trios that already balance form and color - I keep a running list of three-plant combinations that work together.
Principle 5: Sequence the bloom
The last principle is the one you can't see on planting day, which is why it's the easiest to forget and the most disappointing to get wrong. A bed where everything blooms in June is spectacular for three weeks and dull for eleven months. A designed bed is planned so something is always coming into flower.
The practical method: divide the growing season into thirds - spring, summer, fall - and make sure you have at least two or three plants carrying each third, ideally spread across the bed rather than clustered. Early bulbs and ephemerals, then the big summer perennials, then the late asters and grasses that carry into frost. When you layer this over the structural bones from Principle 2, the bed never has a dead moment: winter has the evergreens and berries, and the growing season rolls from one wave to the next.
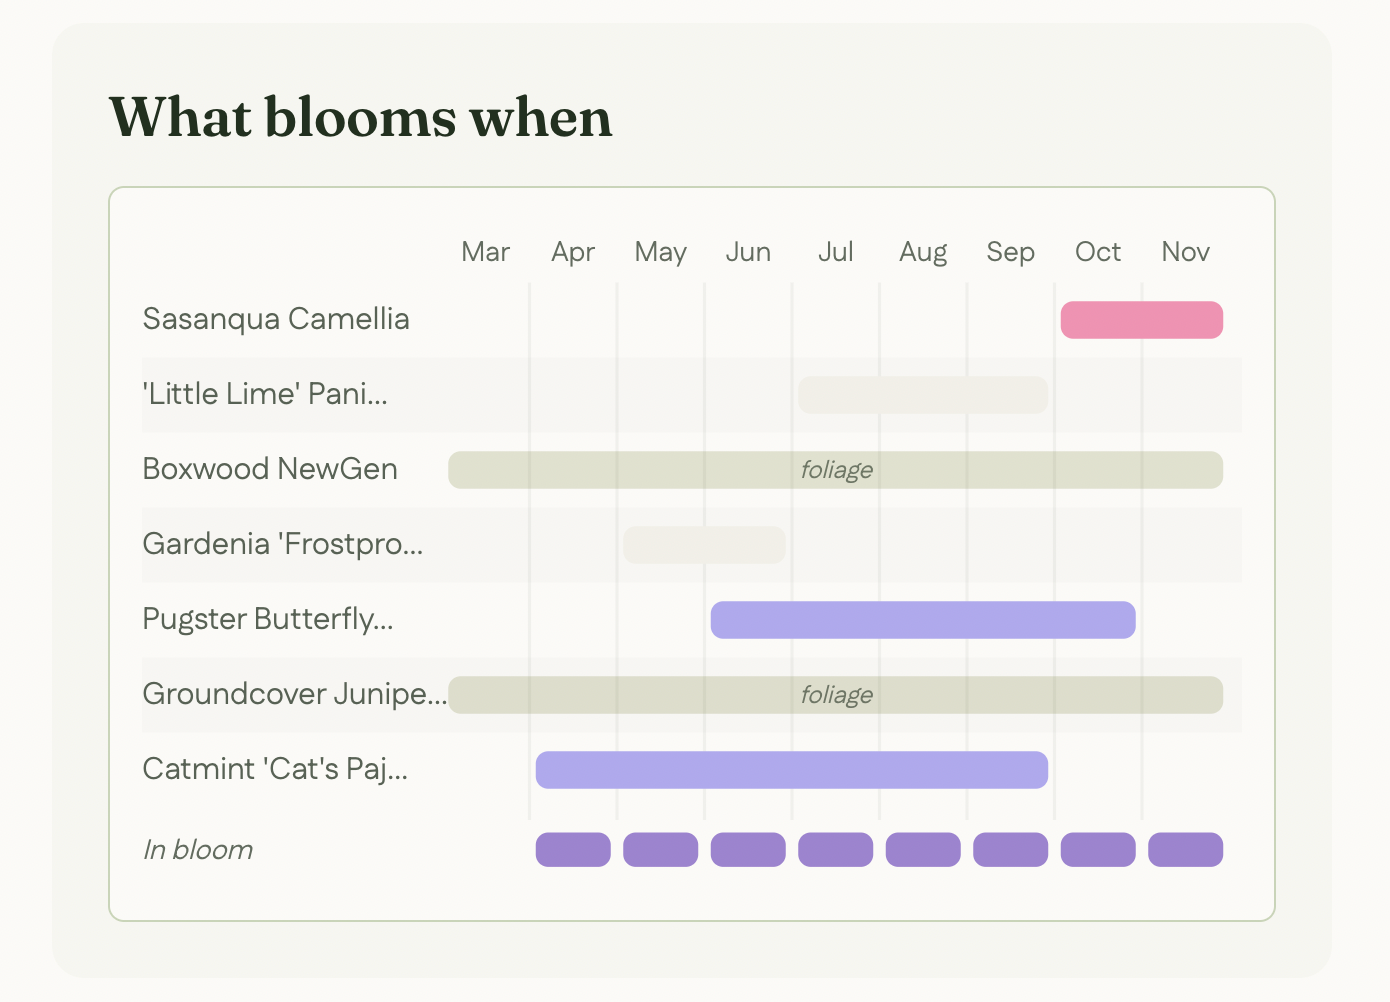
This is genuinely hard to hold in your head, because the garden looks completely different in April than it does in September - the plant dominating one month is invisible the next. That is why I am building the Year in Bloom app - a planting calendar based on your actual frost dates that shows planting windows and bloom times across the year, so you can spot seasonal gaps before they become empty months.
Putting it together: one bed, all five principles
Rules like these are easy to agree with and hard to actually use in the garden. So here's what all five look like operating at once, using a bed I designed as a worked example - a 10×6 ft full-sun pollinator border for NC.
Height layering (P1): Joe Pye weed anchors the back at 5–6 ft; coneflower, bee balm, and blazing star fill the 2–4 ft middle; aromatic aster and columbine hold the front under 2 ft.
Structural layers (P2): a mountain laurel or winterberry gives evergreen or deciduous bones so the bed isn't bare in winter; the perennials are Layer 3; low asters and a groundcover finish Layer 4.
Color strategy (P3): a cool analogous palette - purple, pink, lavender, blue - with the one orange note of butterfly weed used as a deliberate complementary accent, and blue-green little bluestem as the silver-substitute foliage frame.
Drifts and repetition (P4): nothing planted singly - coneflower in fives, aster in sevens, and the bergamot repeated at both ends of the border to tie it together.
Bloom sequence (P5): columbine and bulbs for spring, the coneflower, bergamot, and blazing star engine for summer, goldenrod and asters carrying through October.
That specific bed - every plant placed on a scaled grid, exact counts, a shopping list, and the three-year care calendar - is The Complete Pollinator Border Plan ($9 at launch). But the point isn't the plan; it's that any bed you love, if you take it apart, is running these same five principles. Once you can see them, you can't unsee them - and you'll design better beds whether you ever buy a plan or not.
The five, in one breath
1. Layer by height - back to front, with one see-through plant pulled forward.
2. Build structural layers - evergreen bones, leaf-dropping shrubs for shape, perennial color, groundcover carpet.
3. Commit to a color strategy - analogous, warm-family, or white-and-green; hold your tone; frame with silver and white.
4. Repeat in drifts - odd-numbered masses, two or three plants echoed down the bed.
5. Sequence the bloom - something for spring, summer, and fall, over evergreen winter bones.
Master these and the plant list almost stops mattering. You could swap in entirely different species for your region and the bed would still read as designed - because design was never in the plants. It was in the arrangement all along.
Design your own bed on a photo of your yard, then track what blooms when before you plant.
Tags
Related ideas
More to explore

Garden design
Small Backyard Garden Plan - Making the Most of a Compact Space
If you've been staring at your small yard wondering where to even start, this guide will help you think through the layout, choose plants that pull their weight, and create a space that feels bigger than it is.
April 6, 2026